
Arcades are not something you see much of anymore. If you happen to come across one, it might be at a fair or in an abandoned state like this:

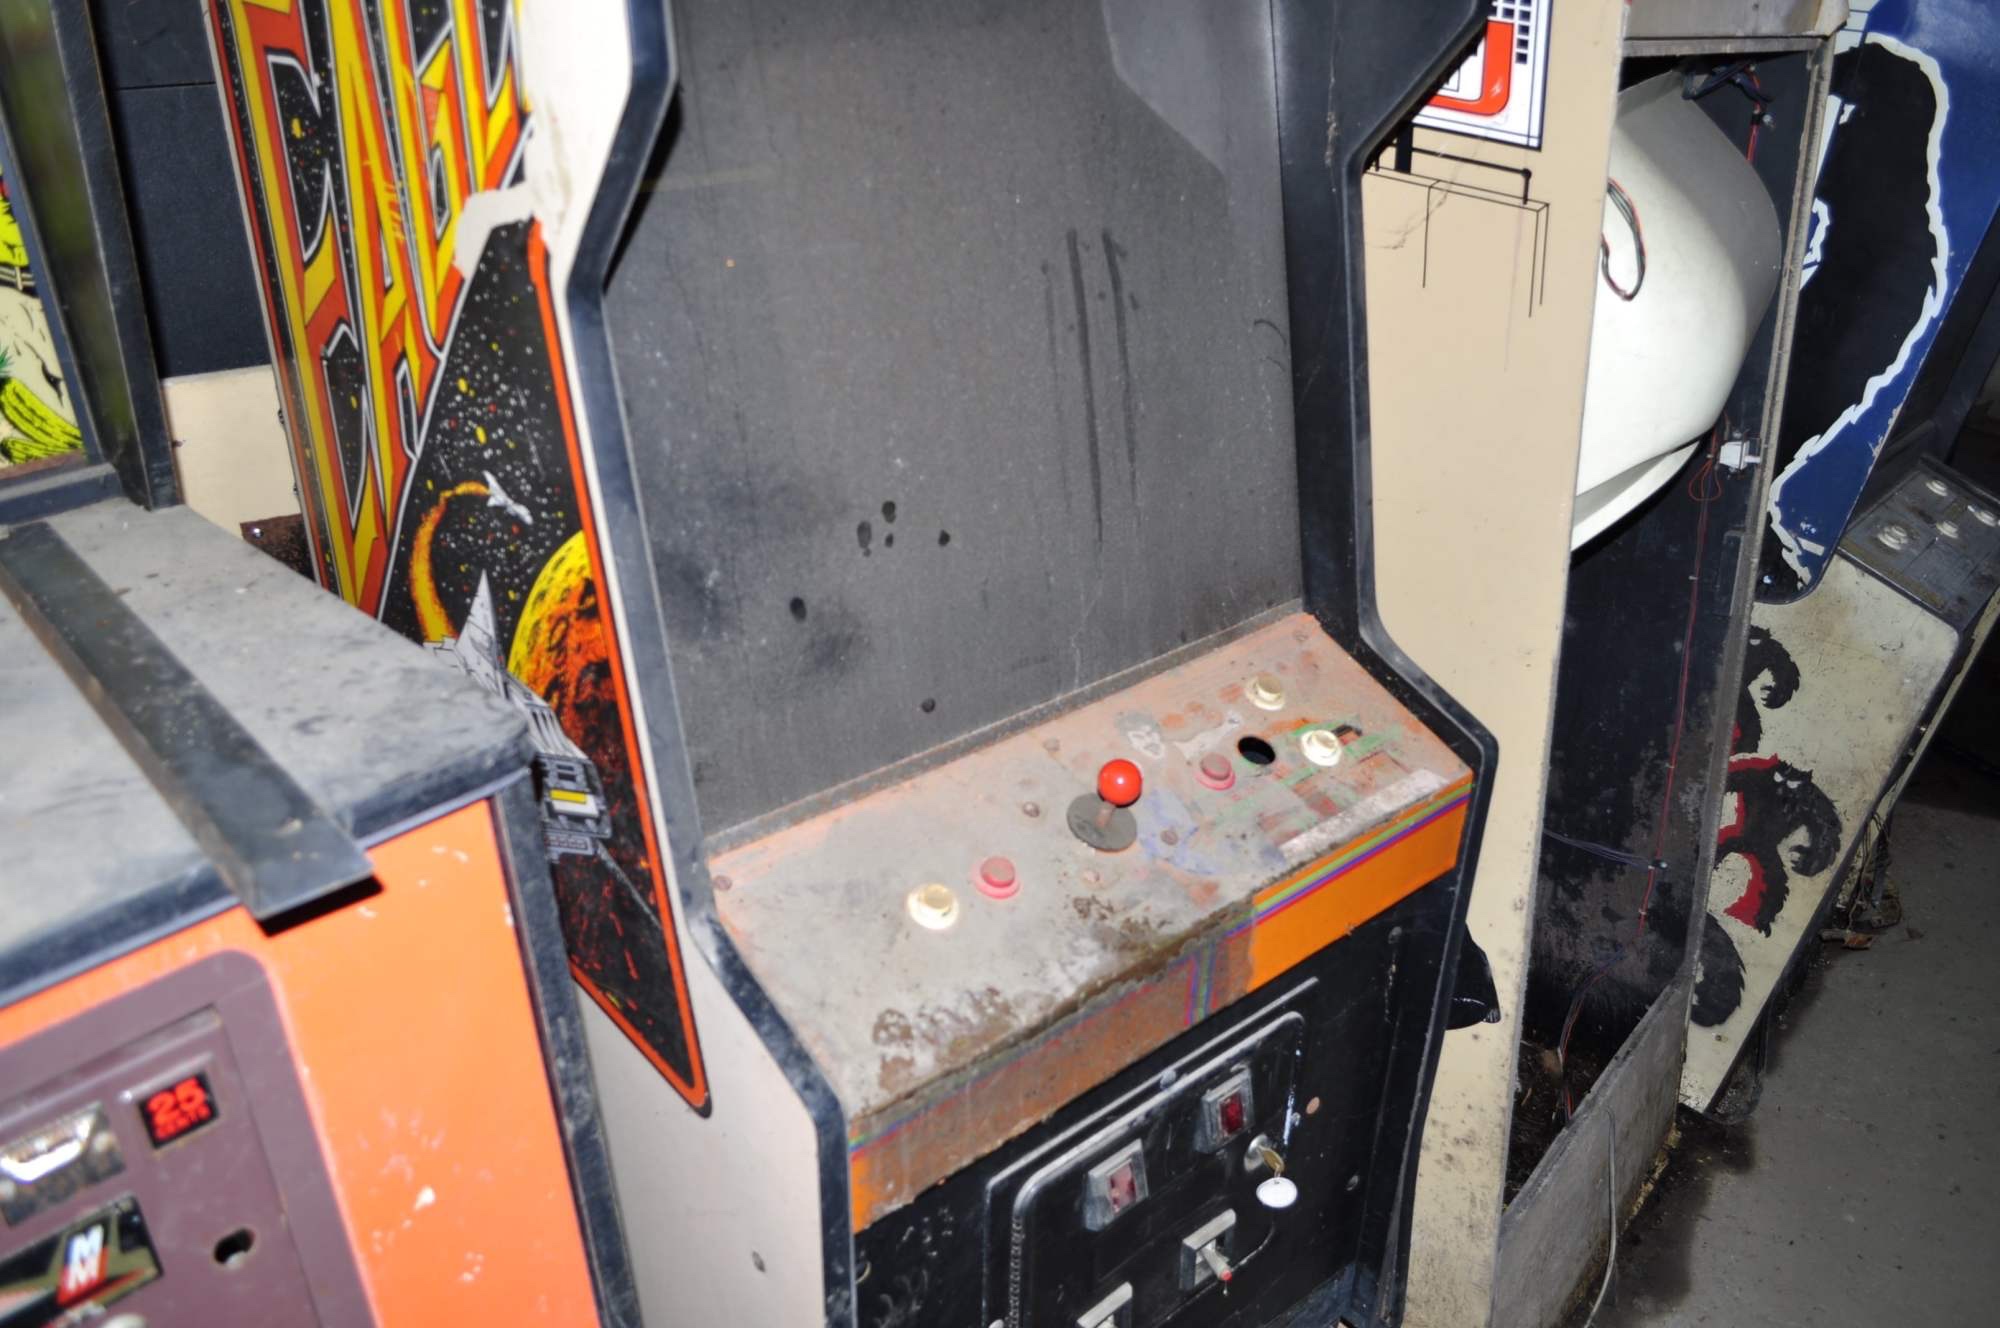
It makes me really sad to see these machines like this. I believe these gaming machines represent the 80s and 90s at its best. Now that era is game over and so are probably most of these arcade machines.
I have an interest in electronics and computing, and woodwork is a good third. I don’t have all the cool toys and tools that you find in a workshop, nor lots of resources to buy everything I would need. I do however have a creative mind and a drive to build things. With this, I set out on a mission to build an arcade cabinet from scratch.
I figured I needed some wood boards, lumber, screws, plexiglass, a mini computer, speakers and paint++.
A friend got me a few wooden boards used as top protection on euro pallets. The rest I had already lying around, except plexi glass and the joystick-button kit.
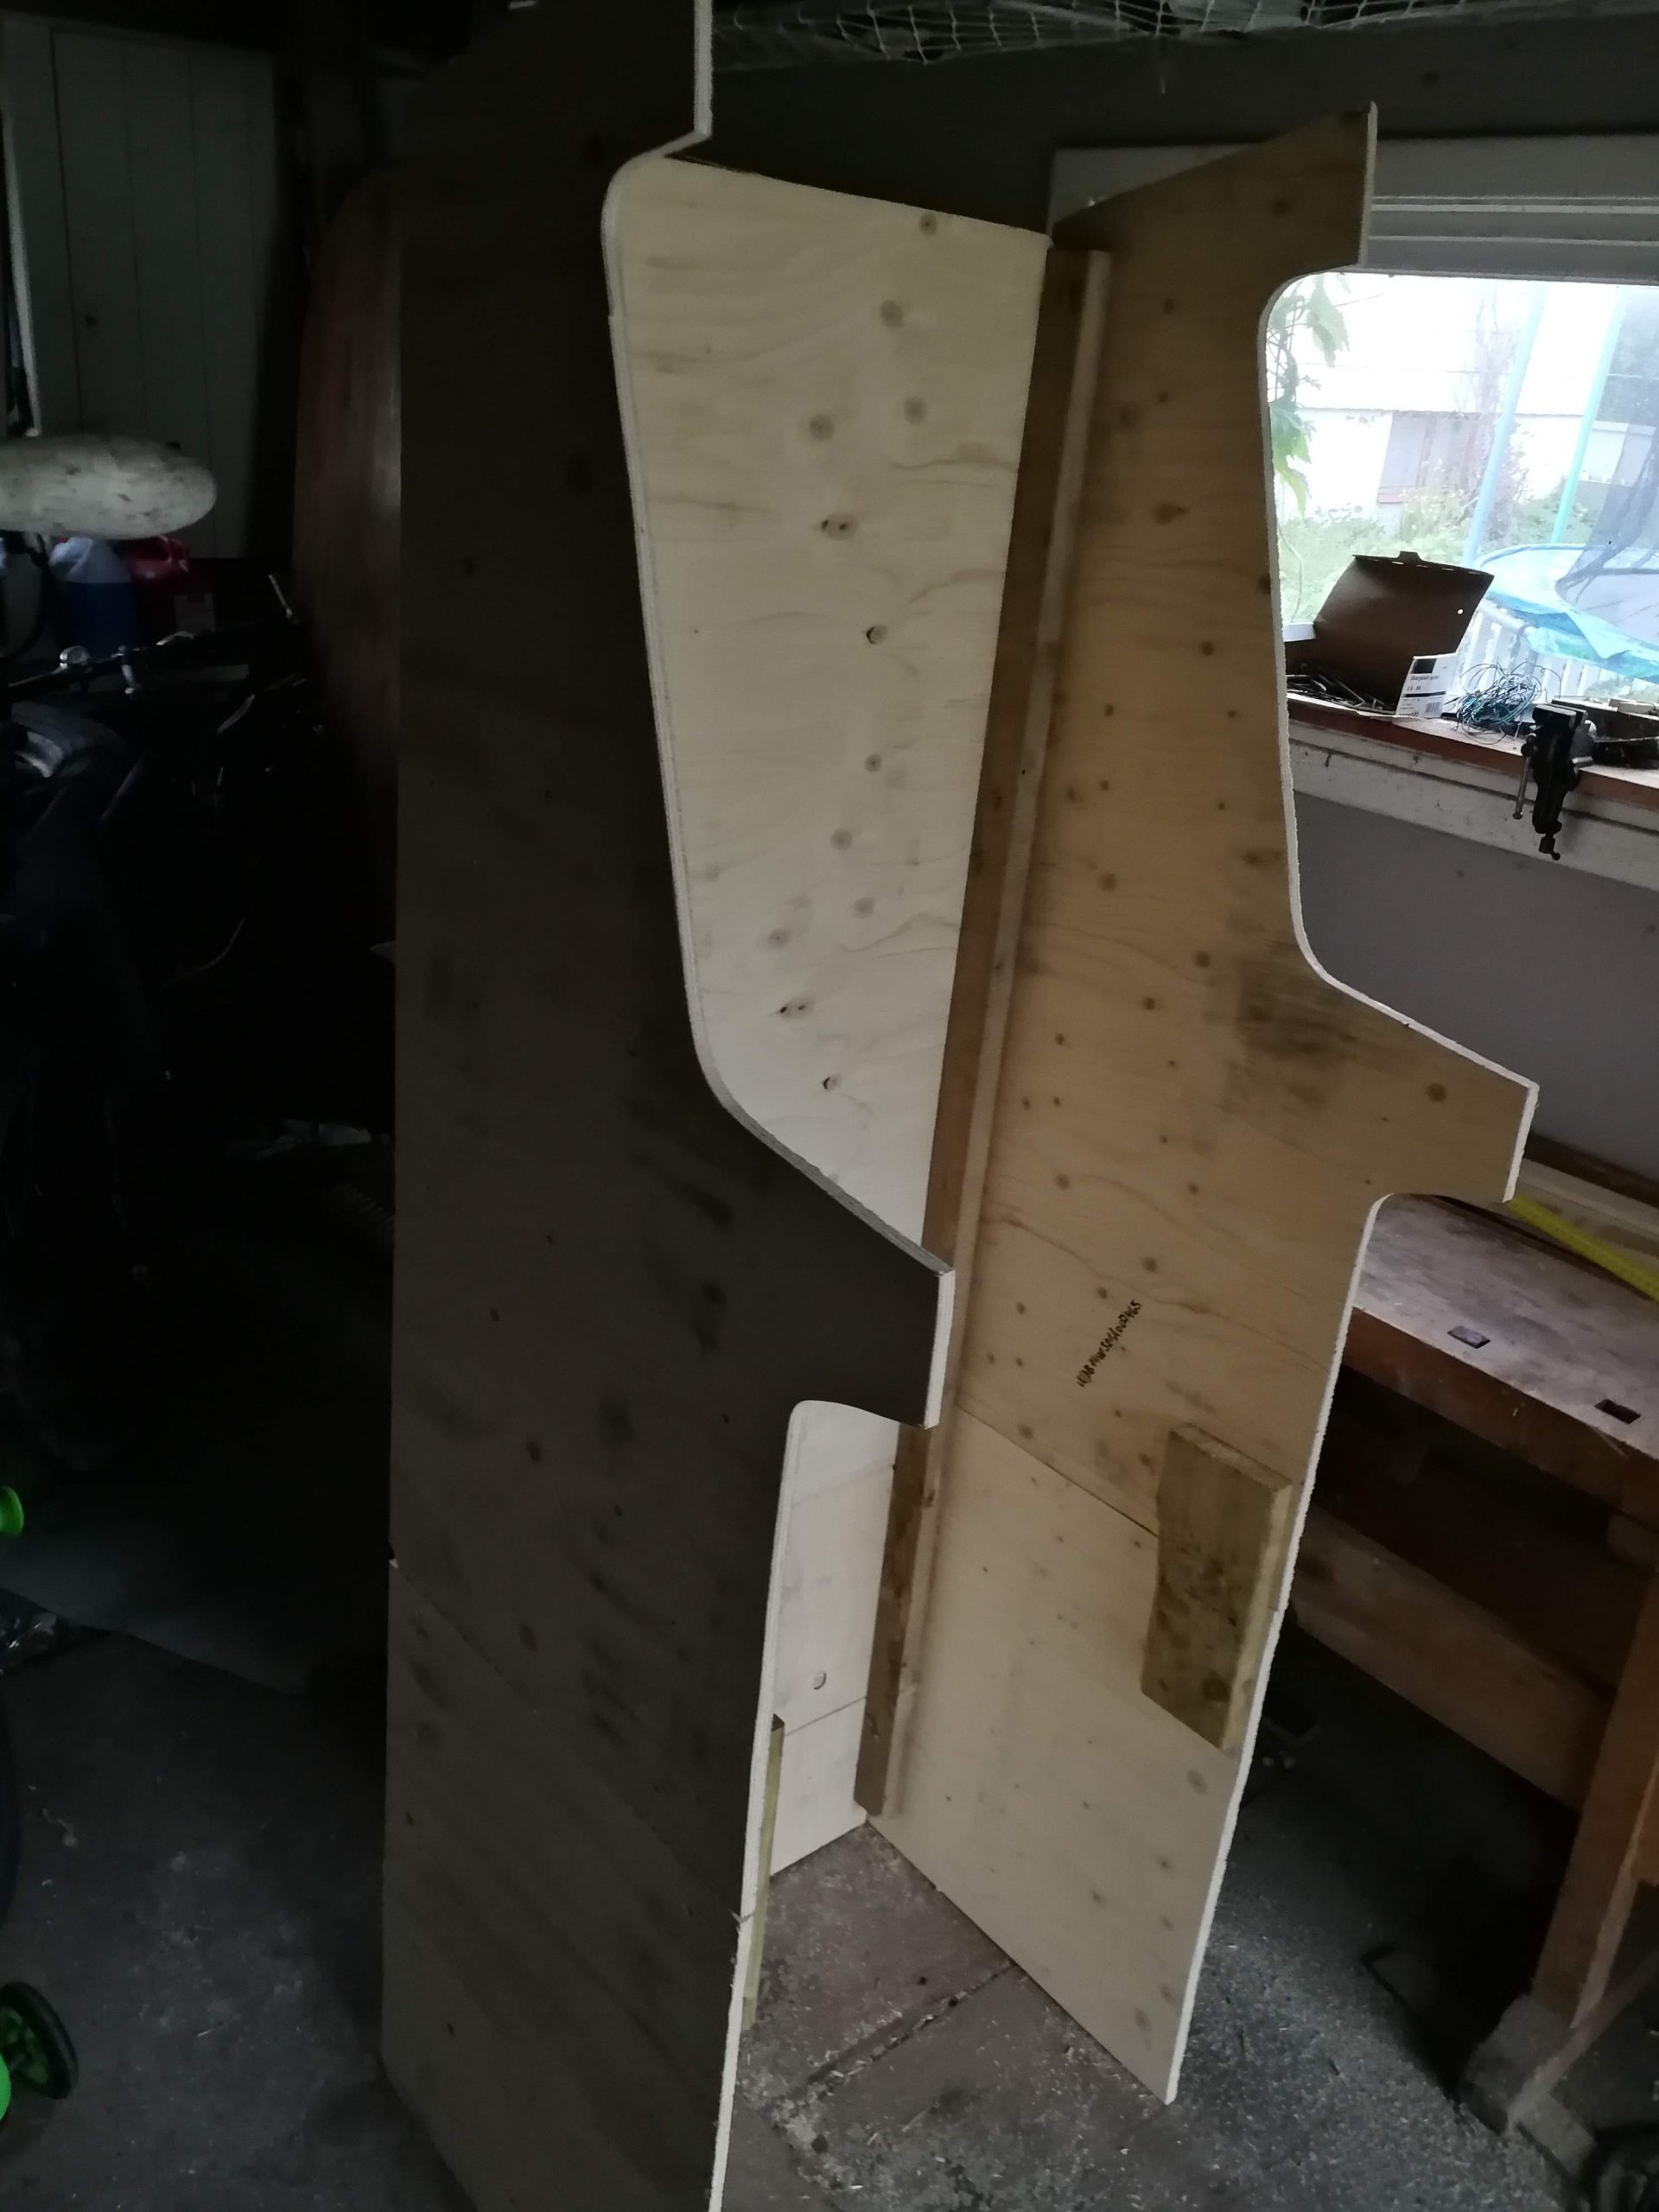
To start off, I searched online for blueprints, but ended up taking a pencil and simply sketching an outline that would look similar to some of the images I found online. After cutting out the top shapes for one side, it looked like this:

Not bad for a first. Already looks like an arcade 😉
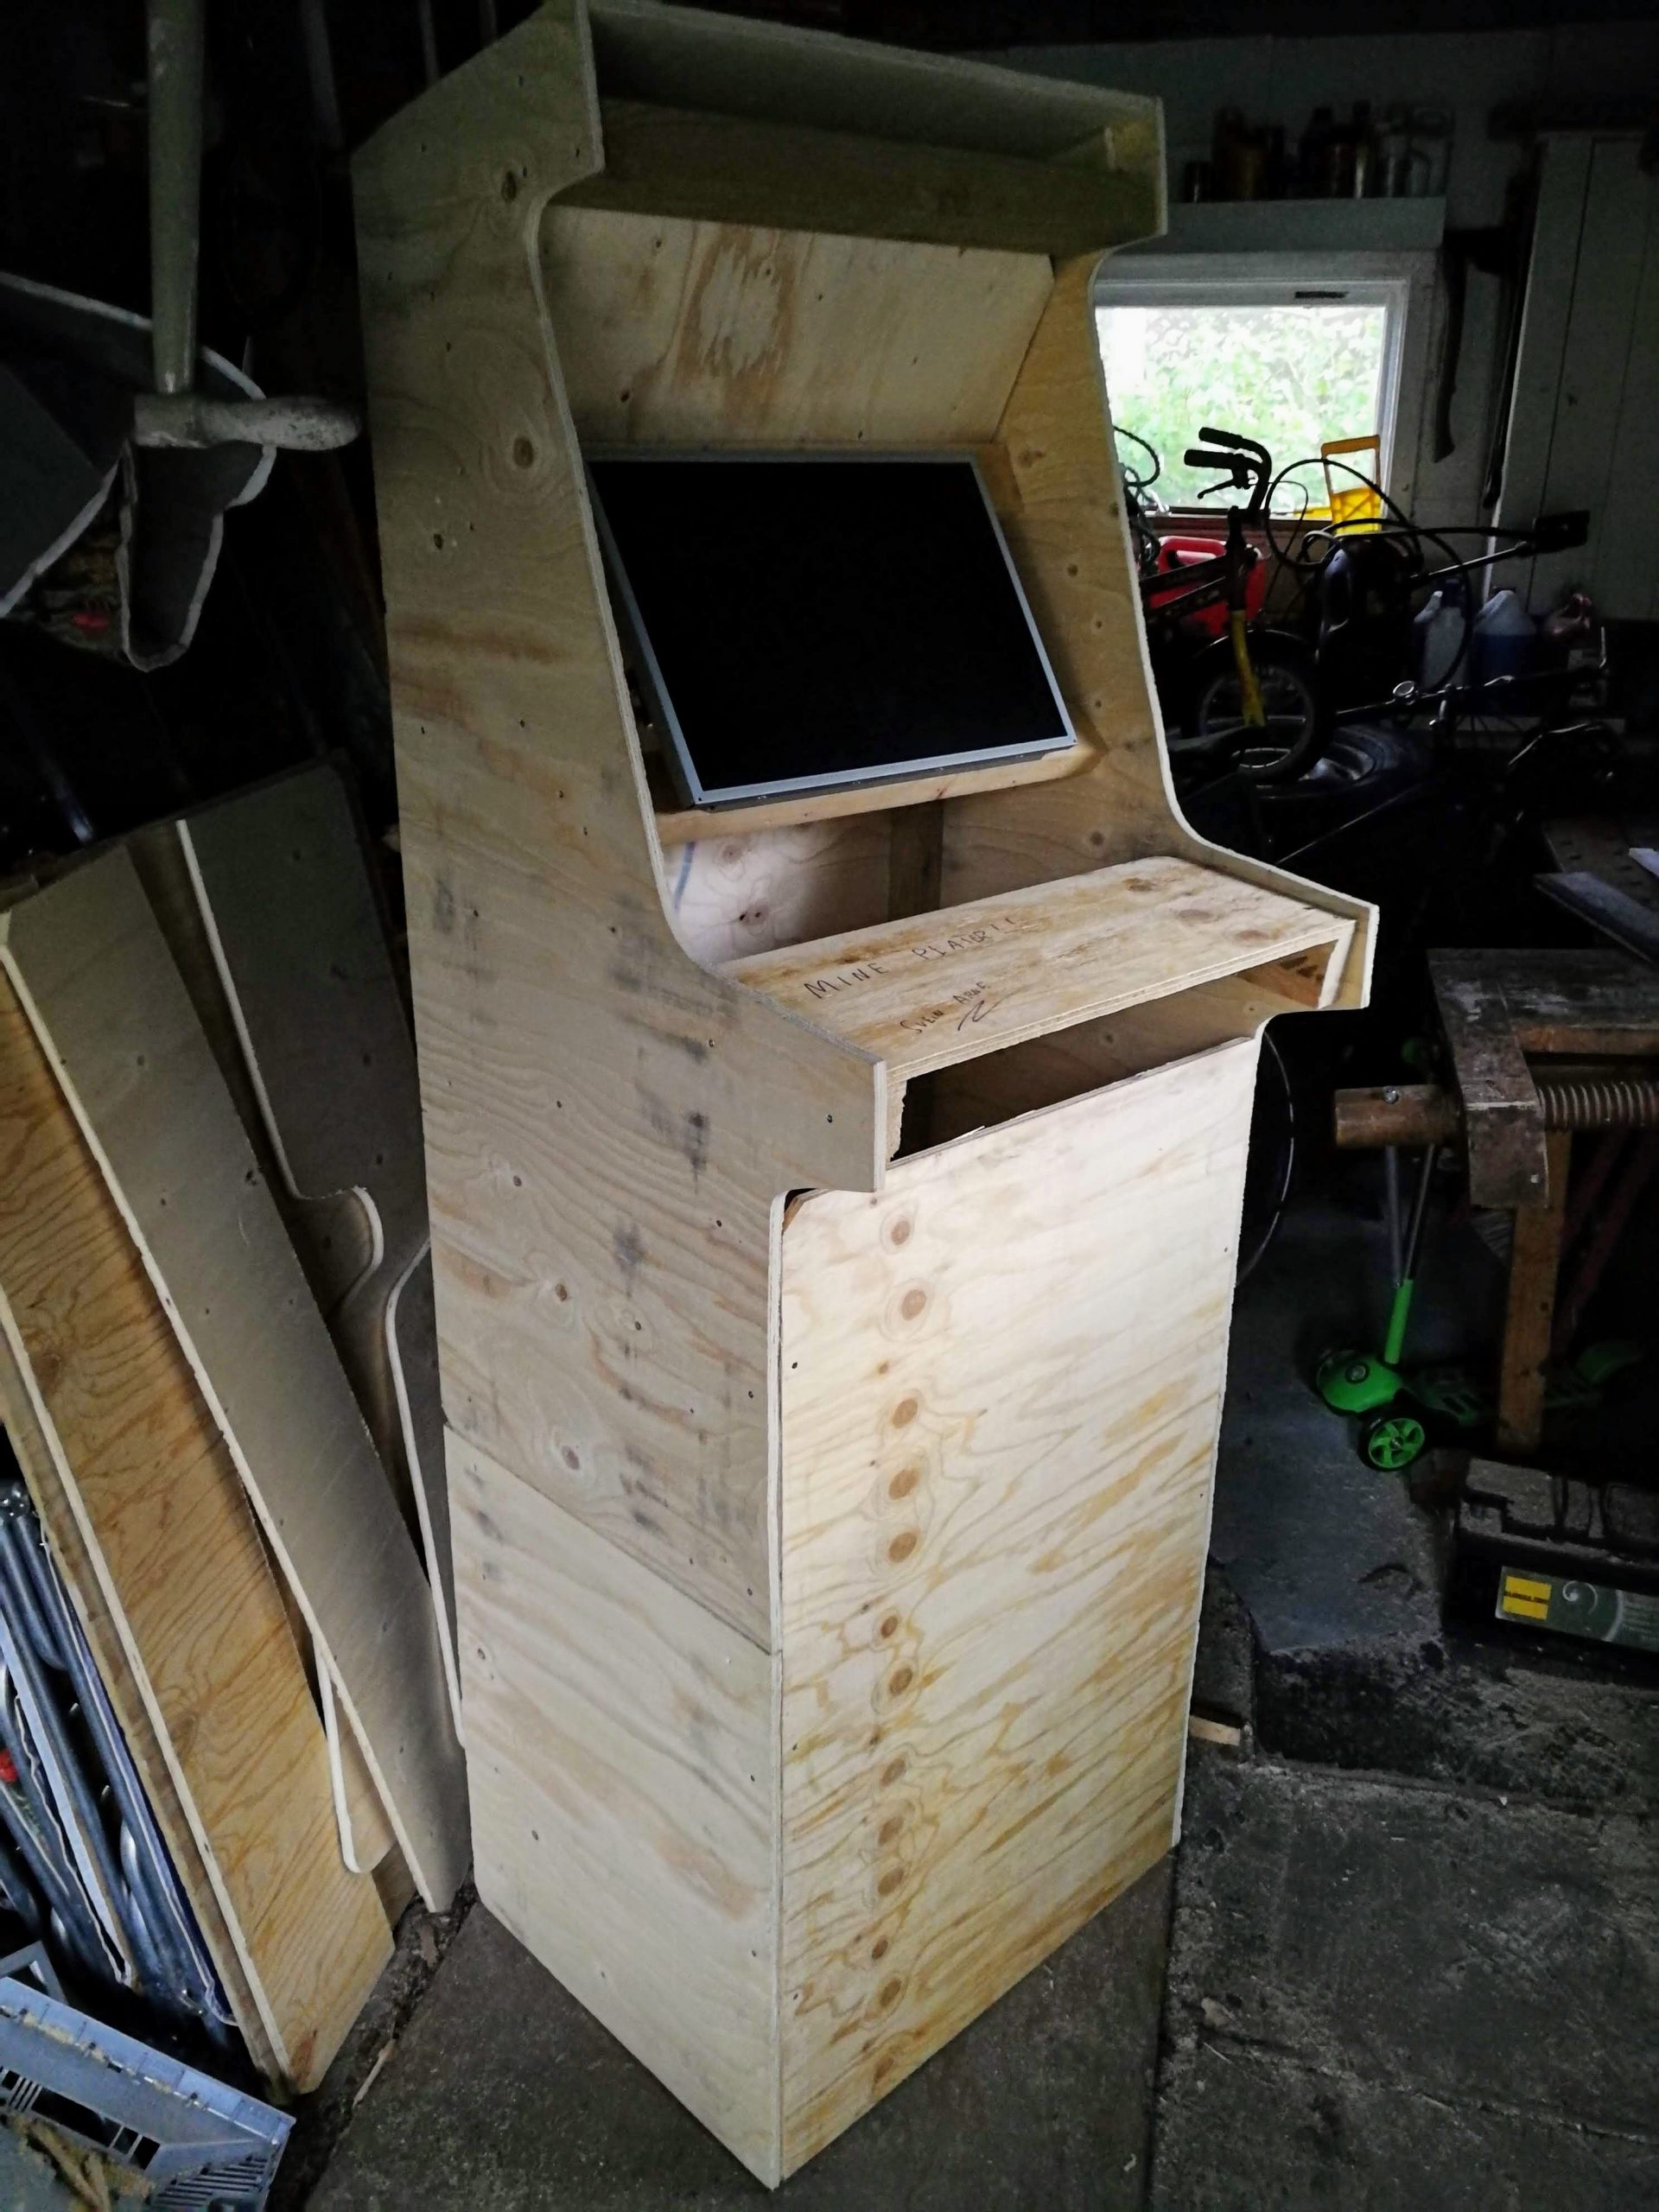
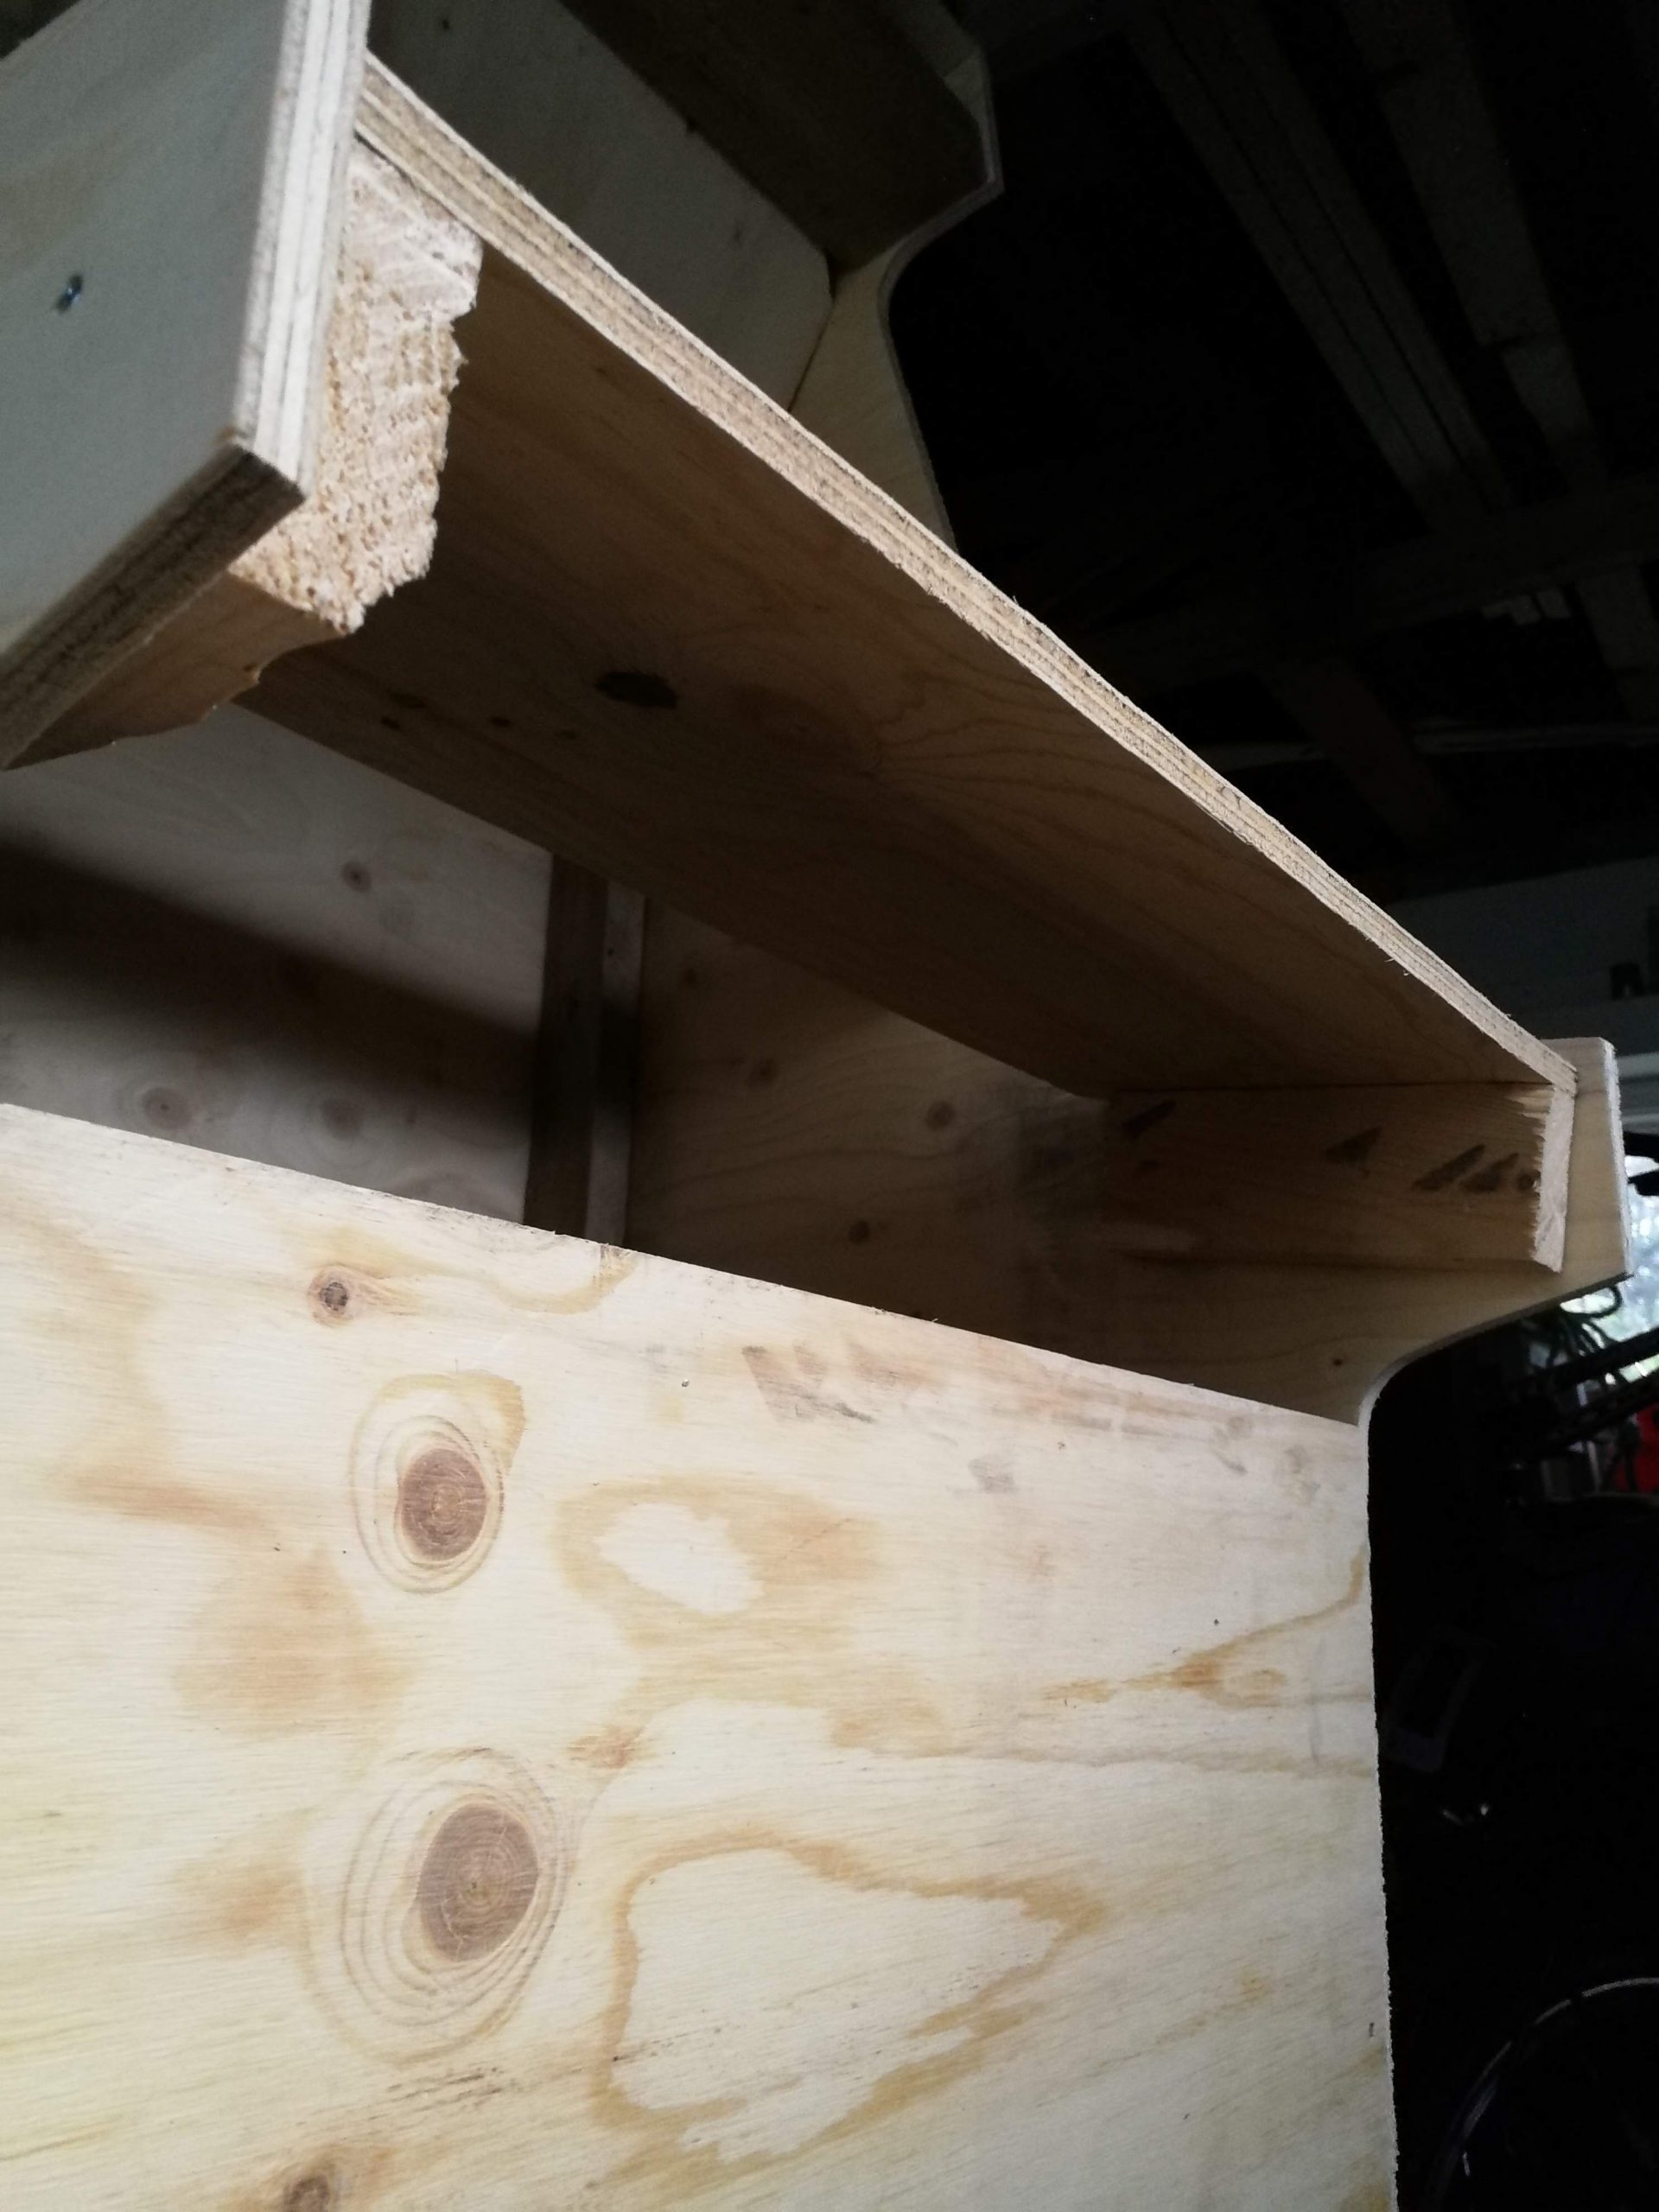
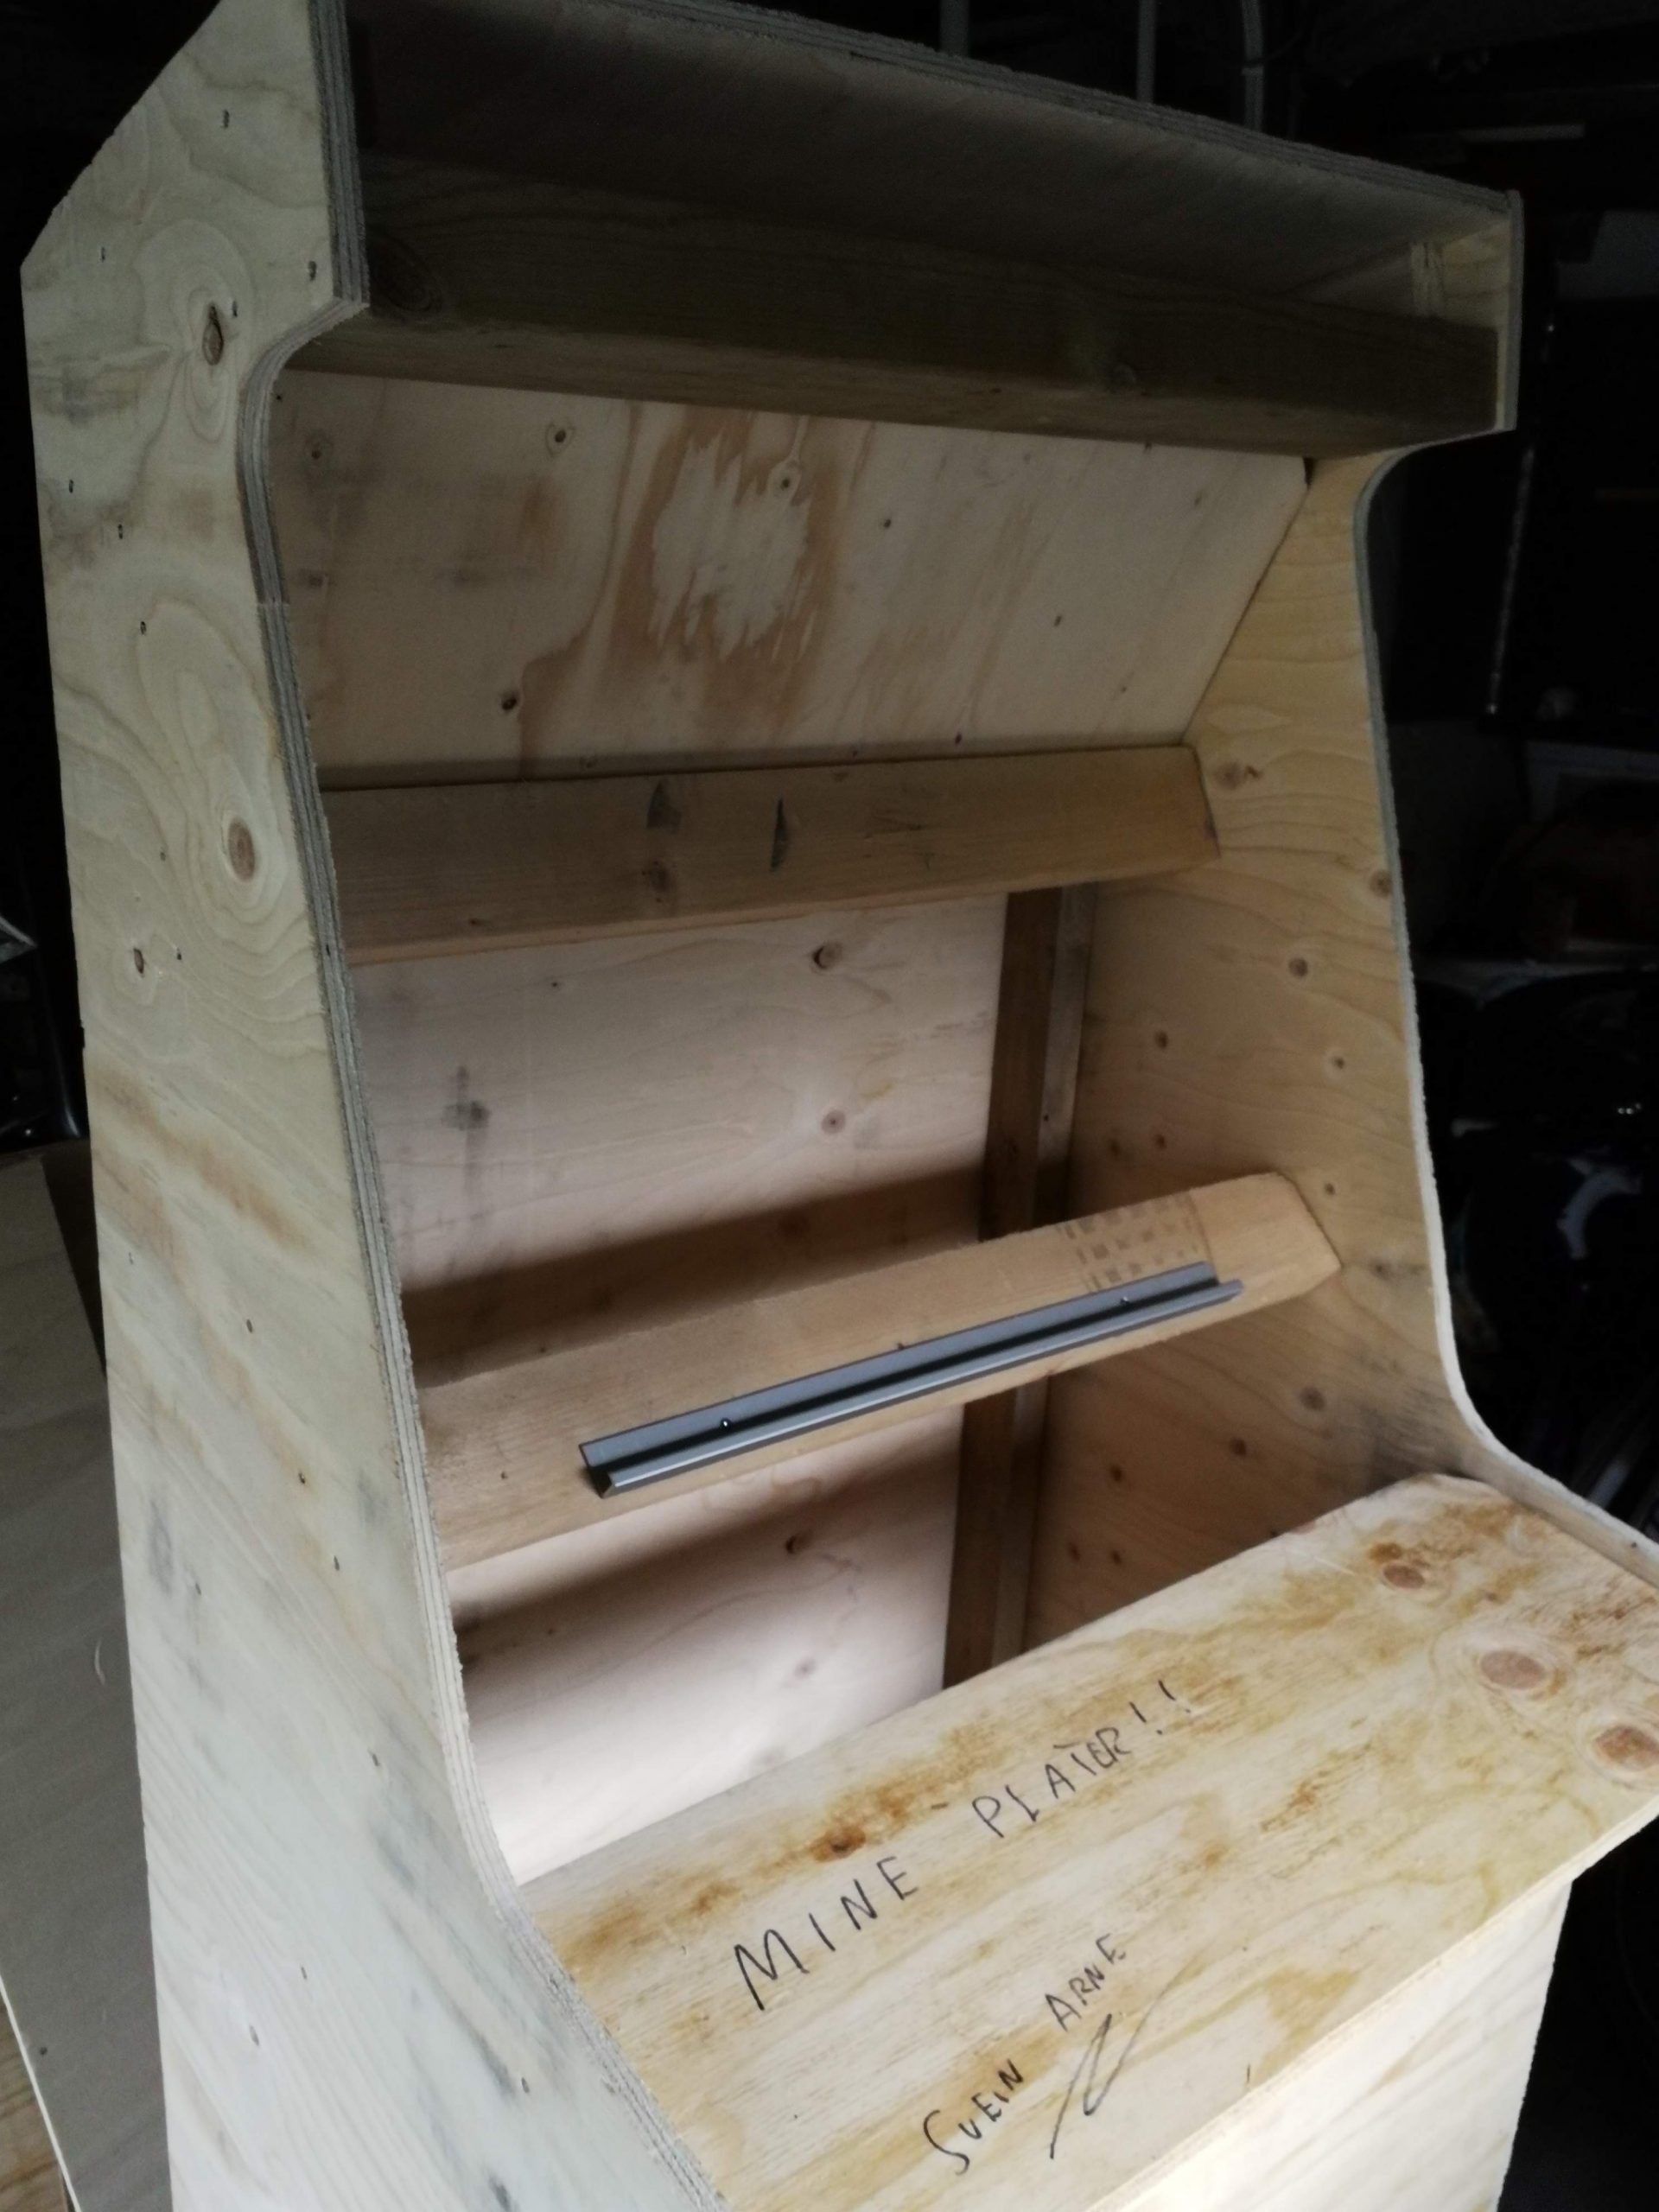
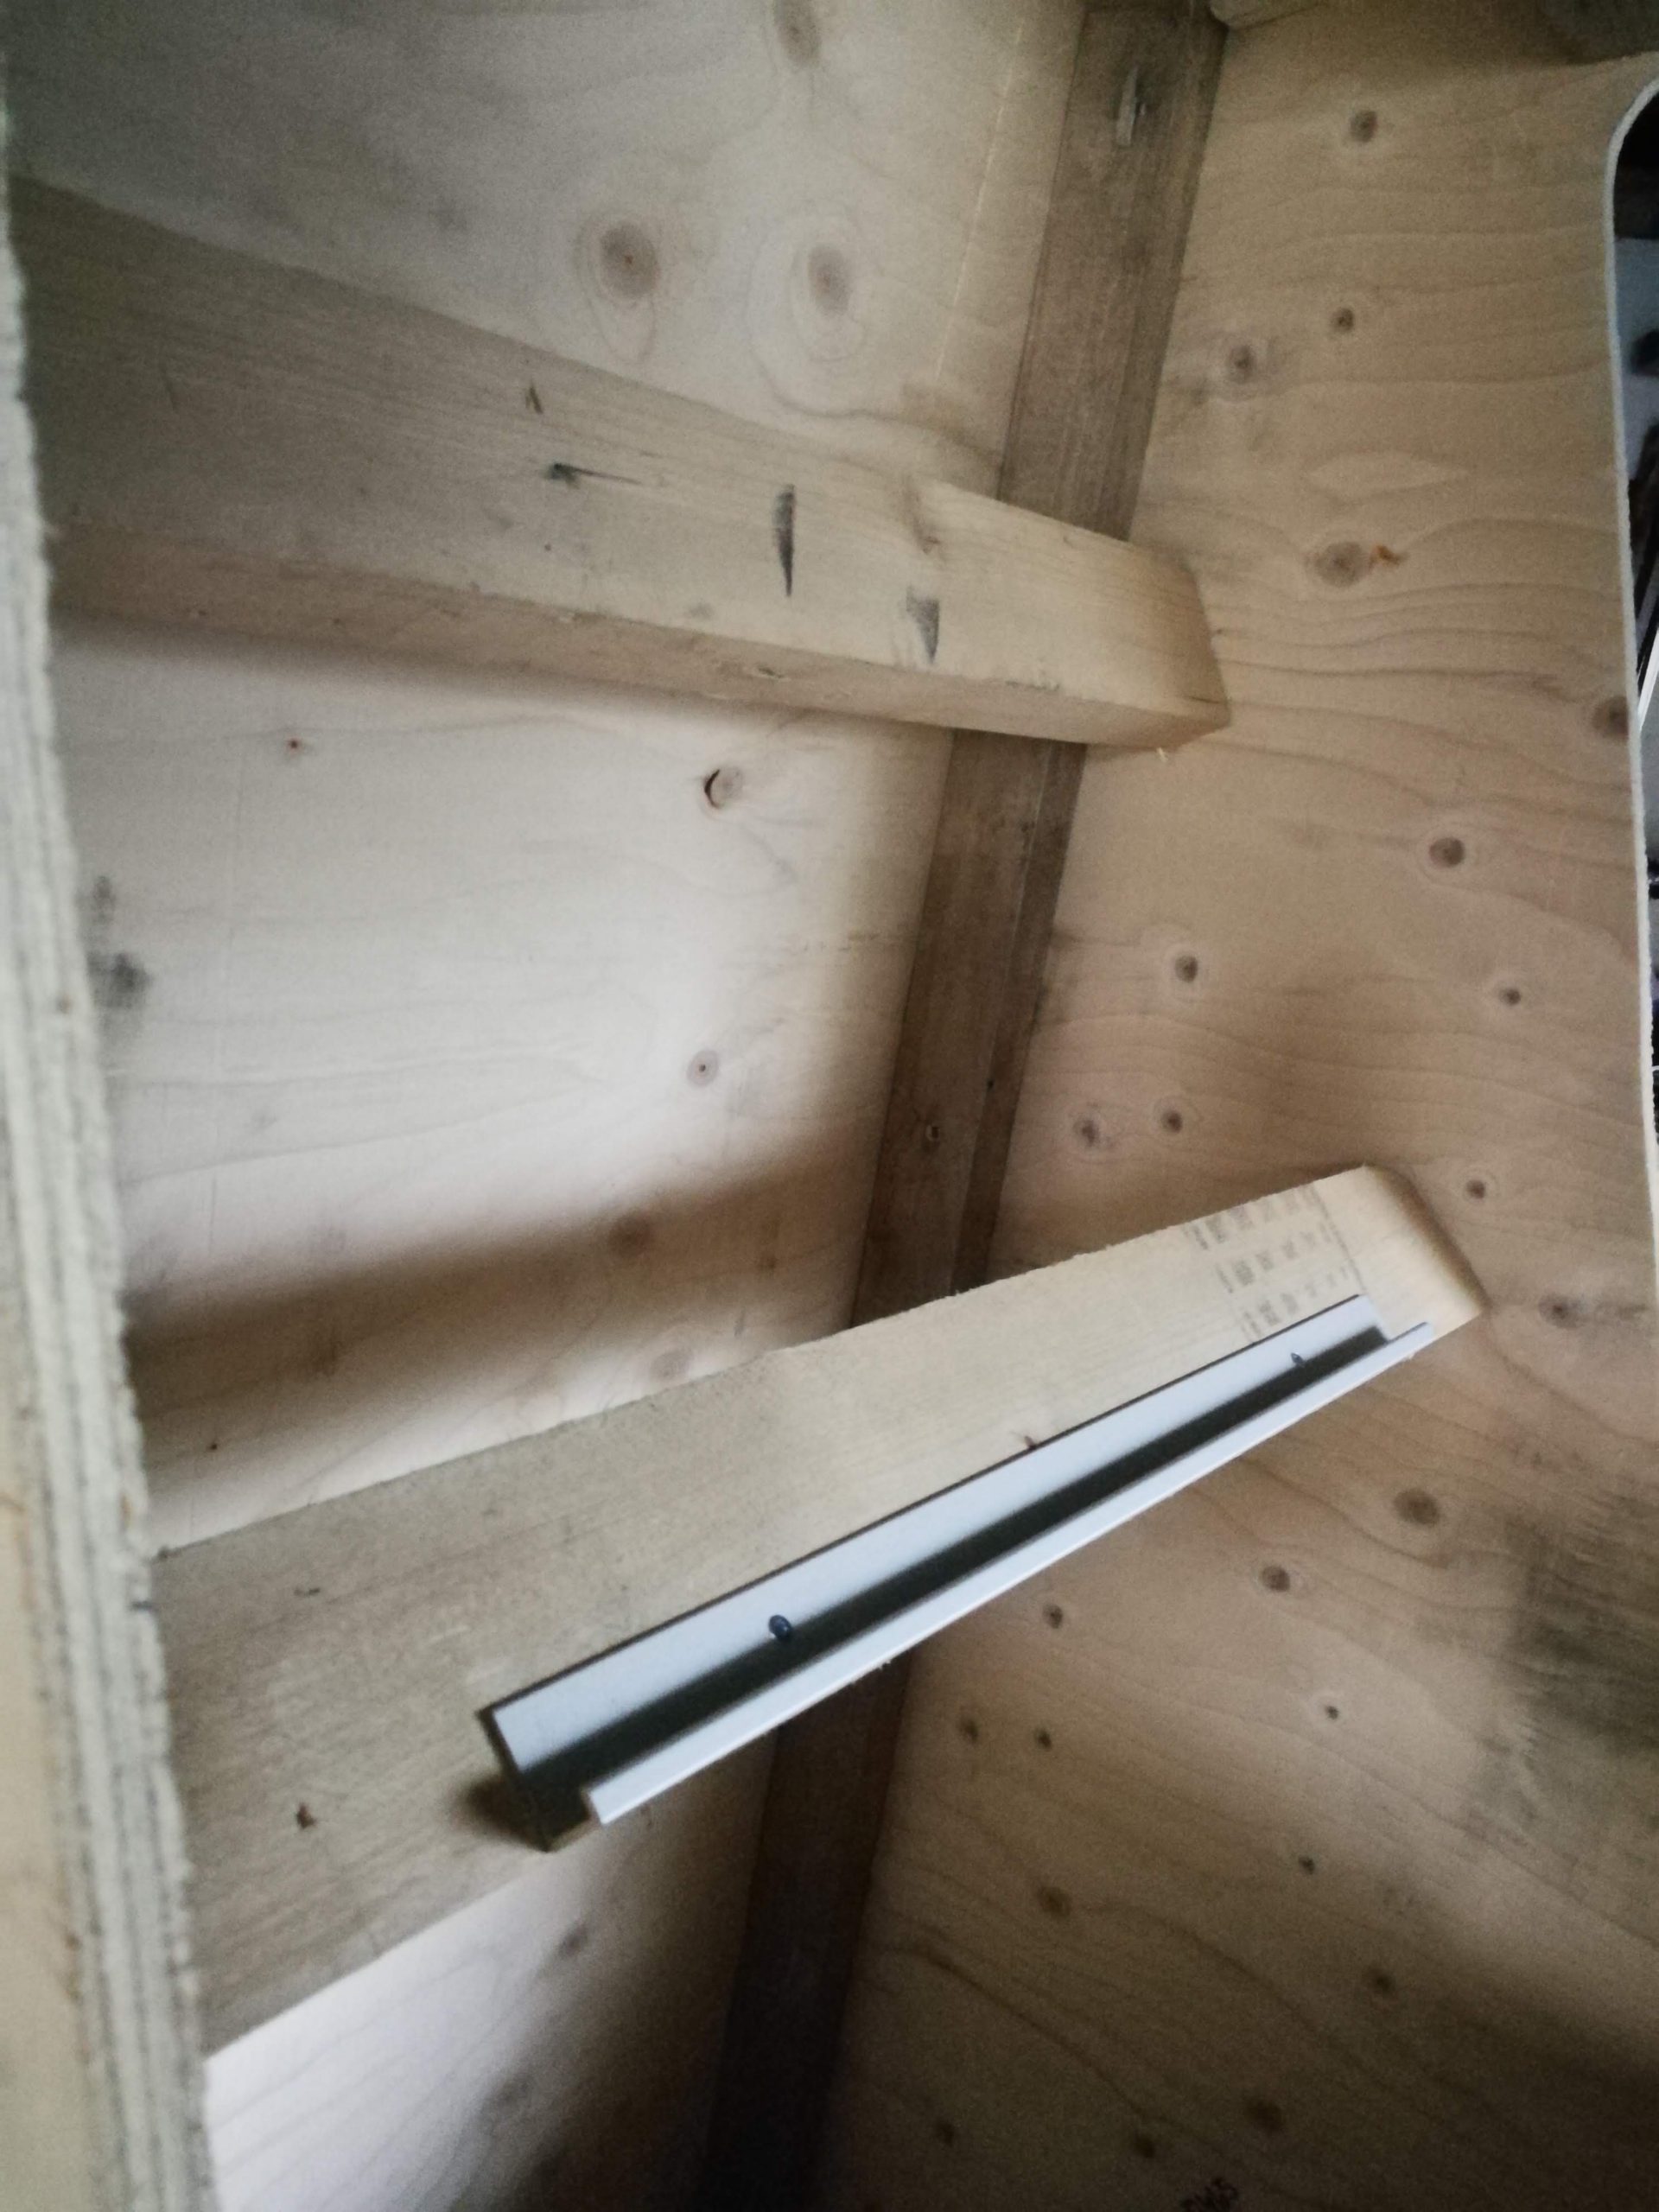
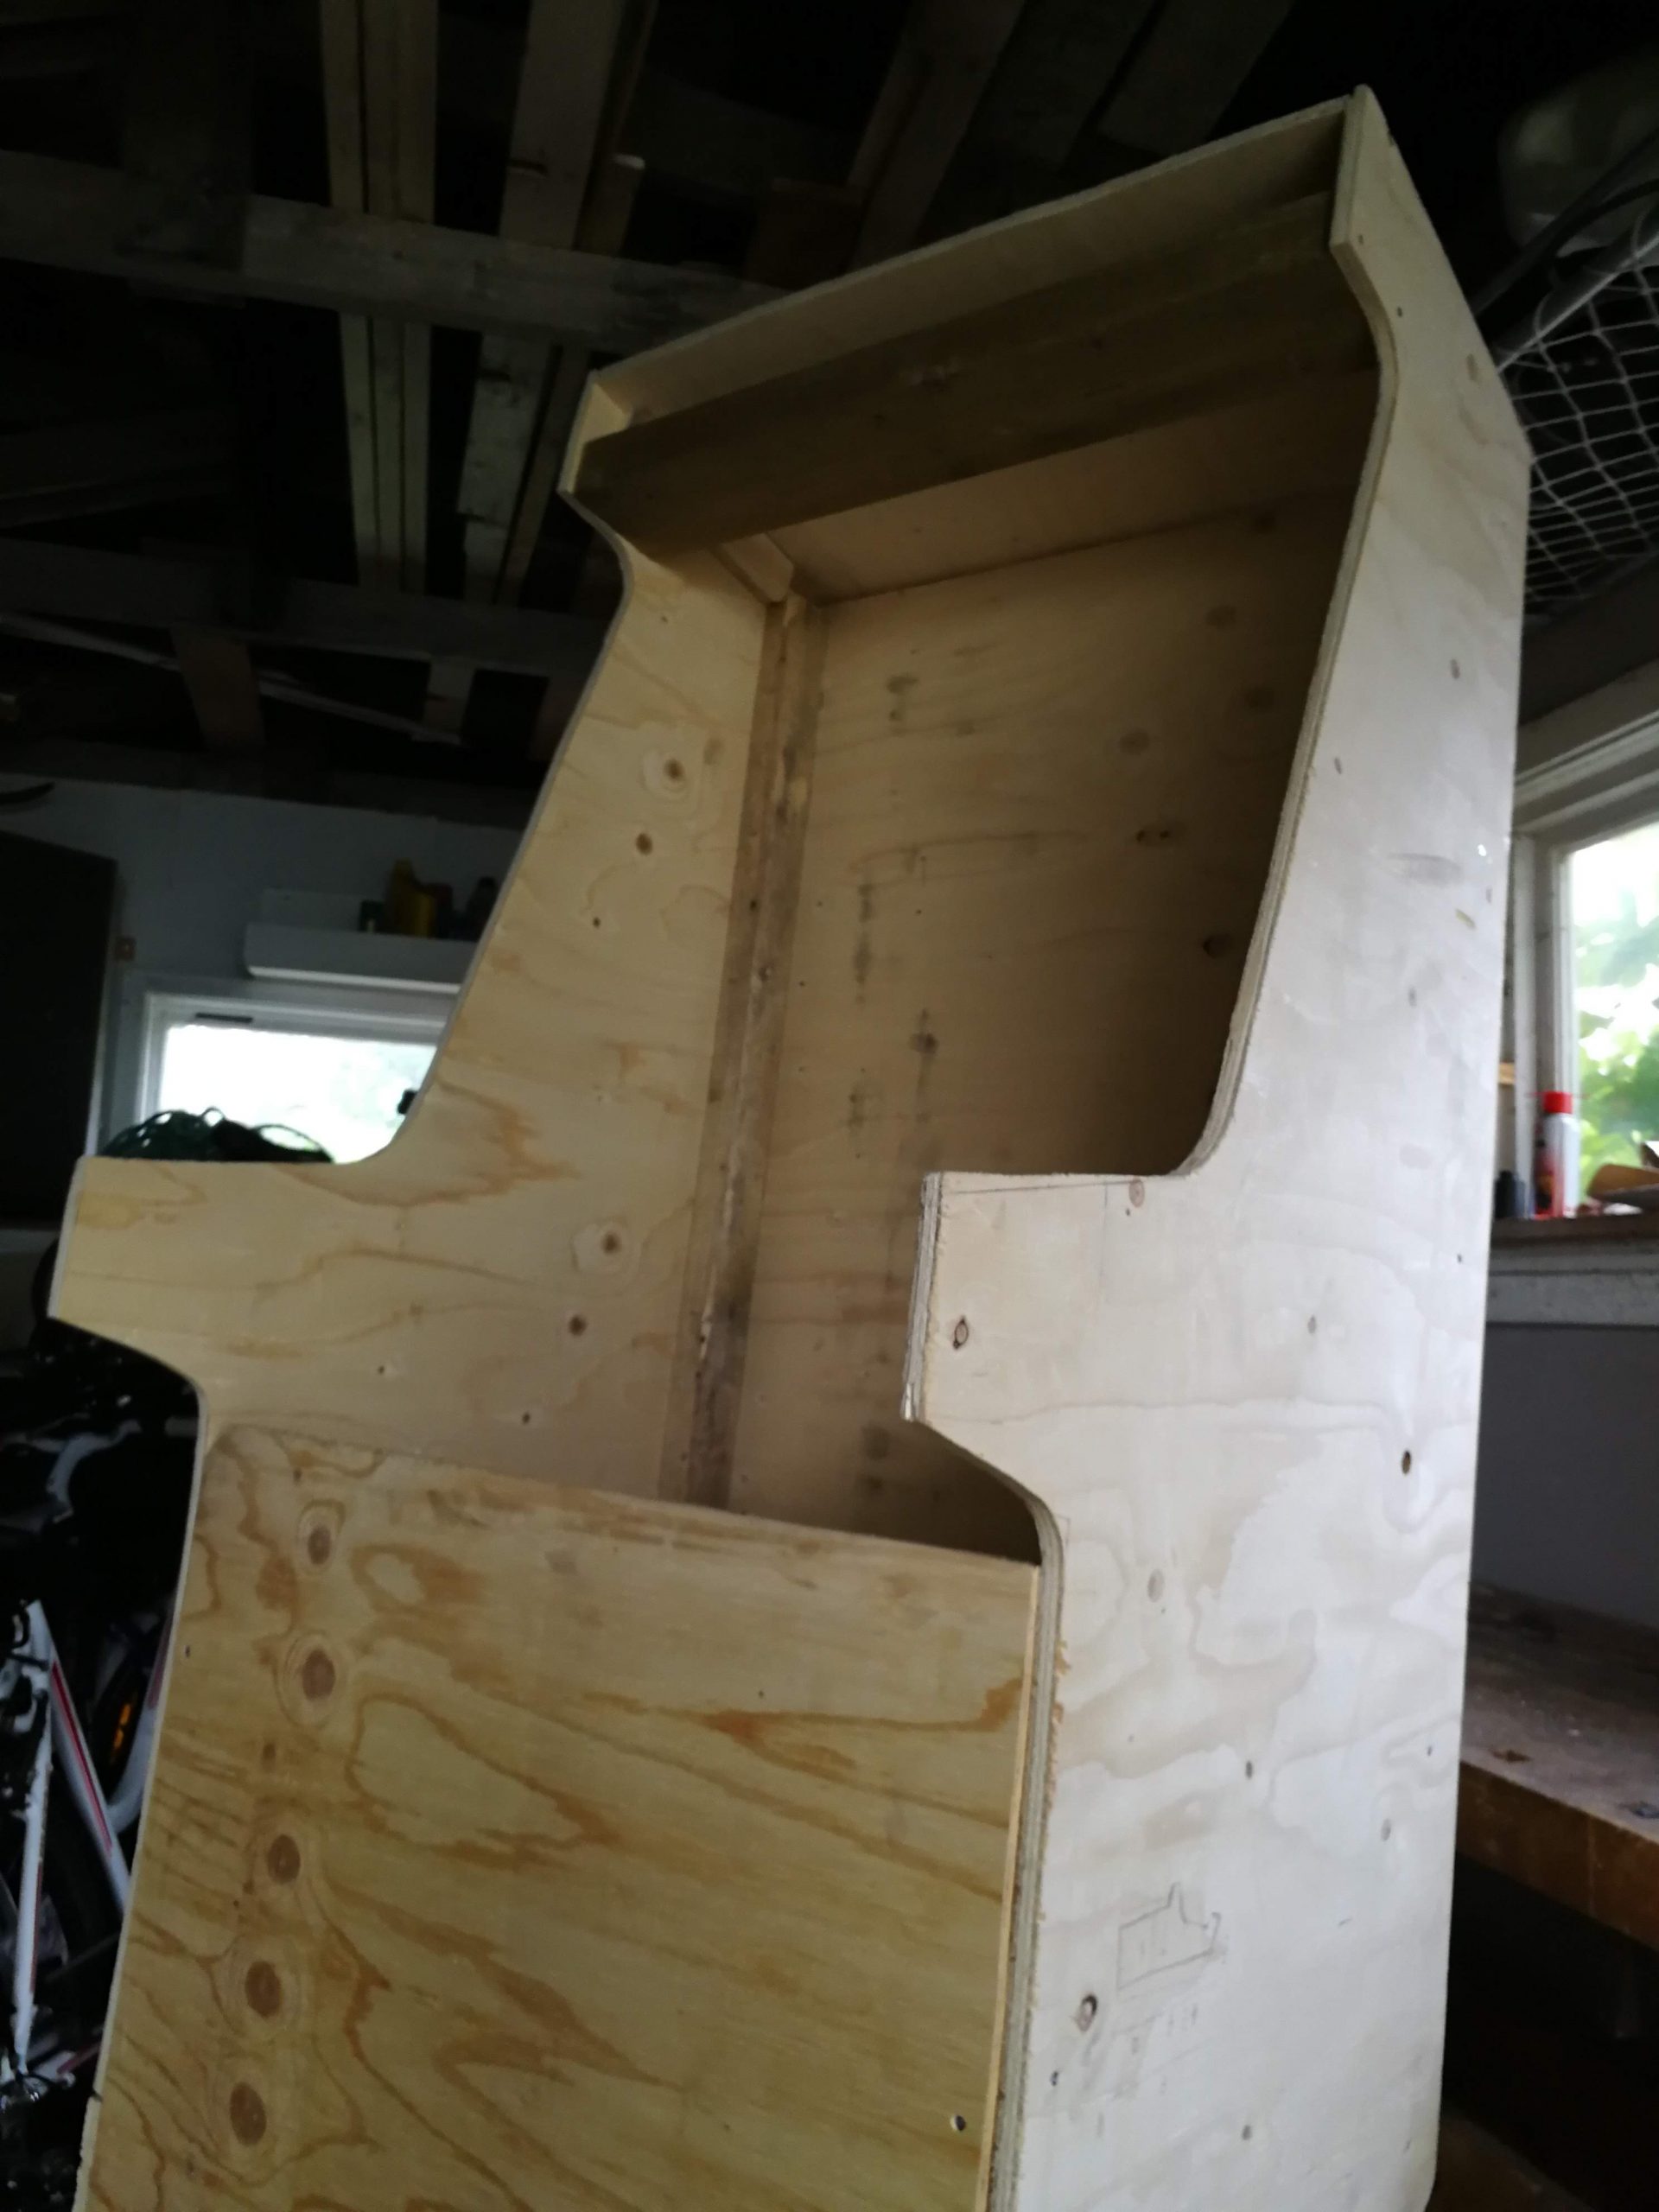
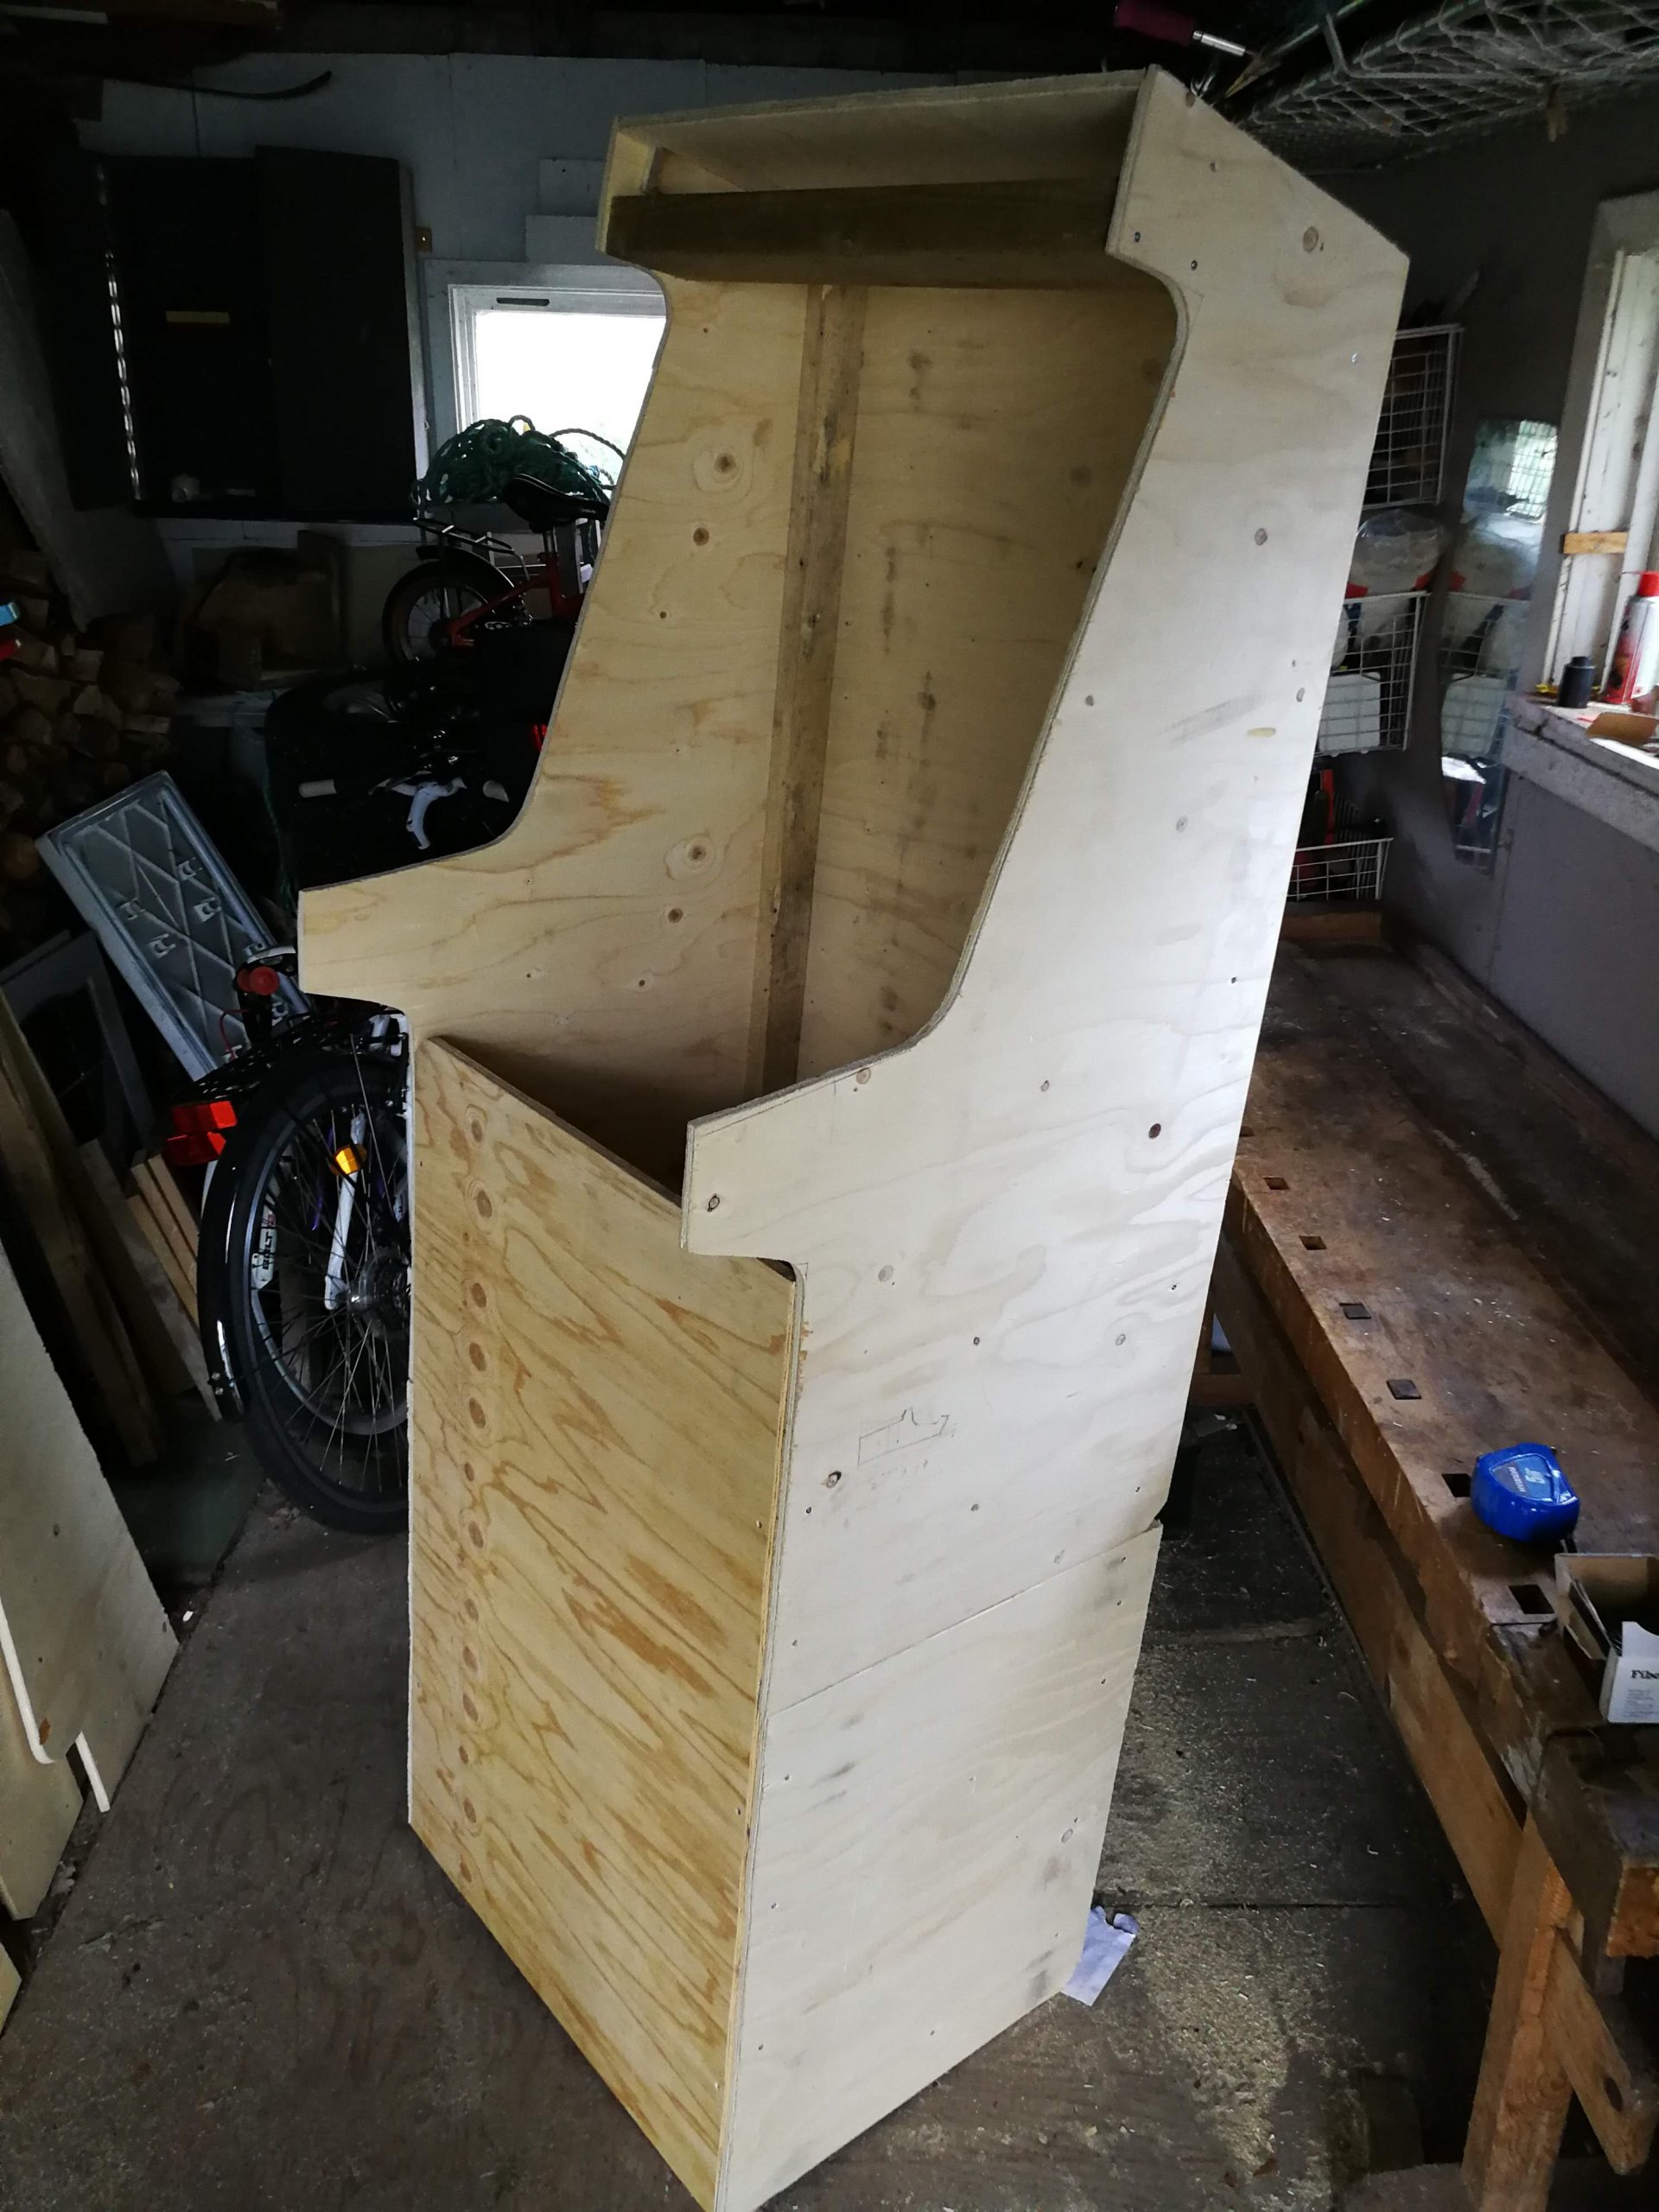
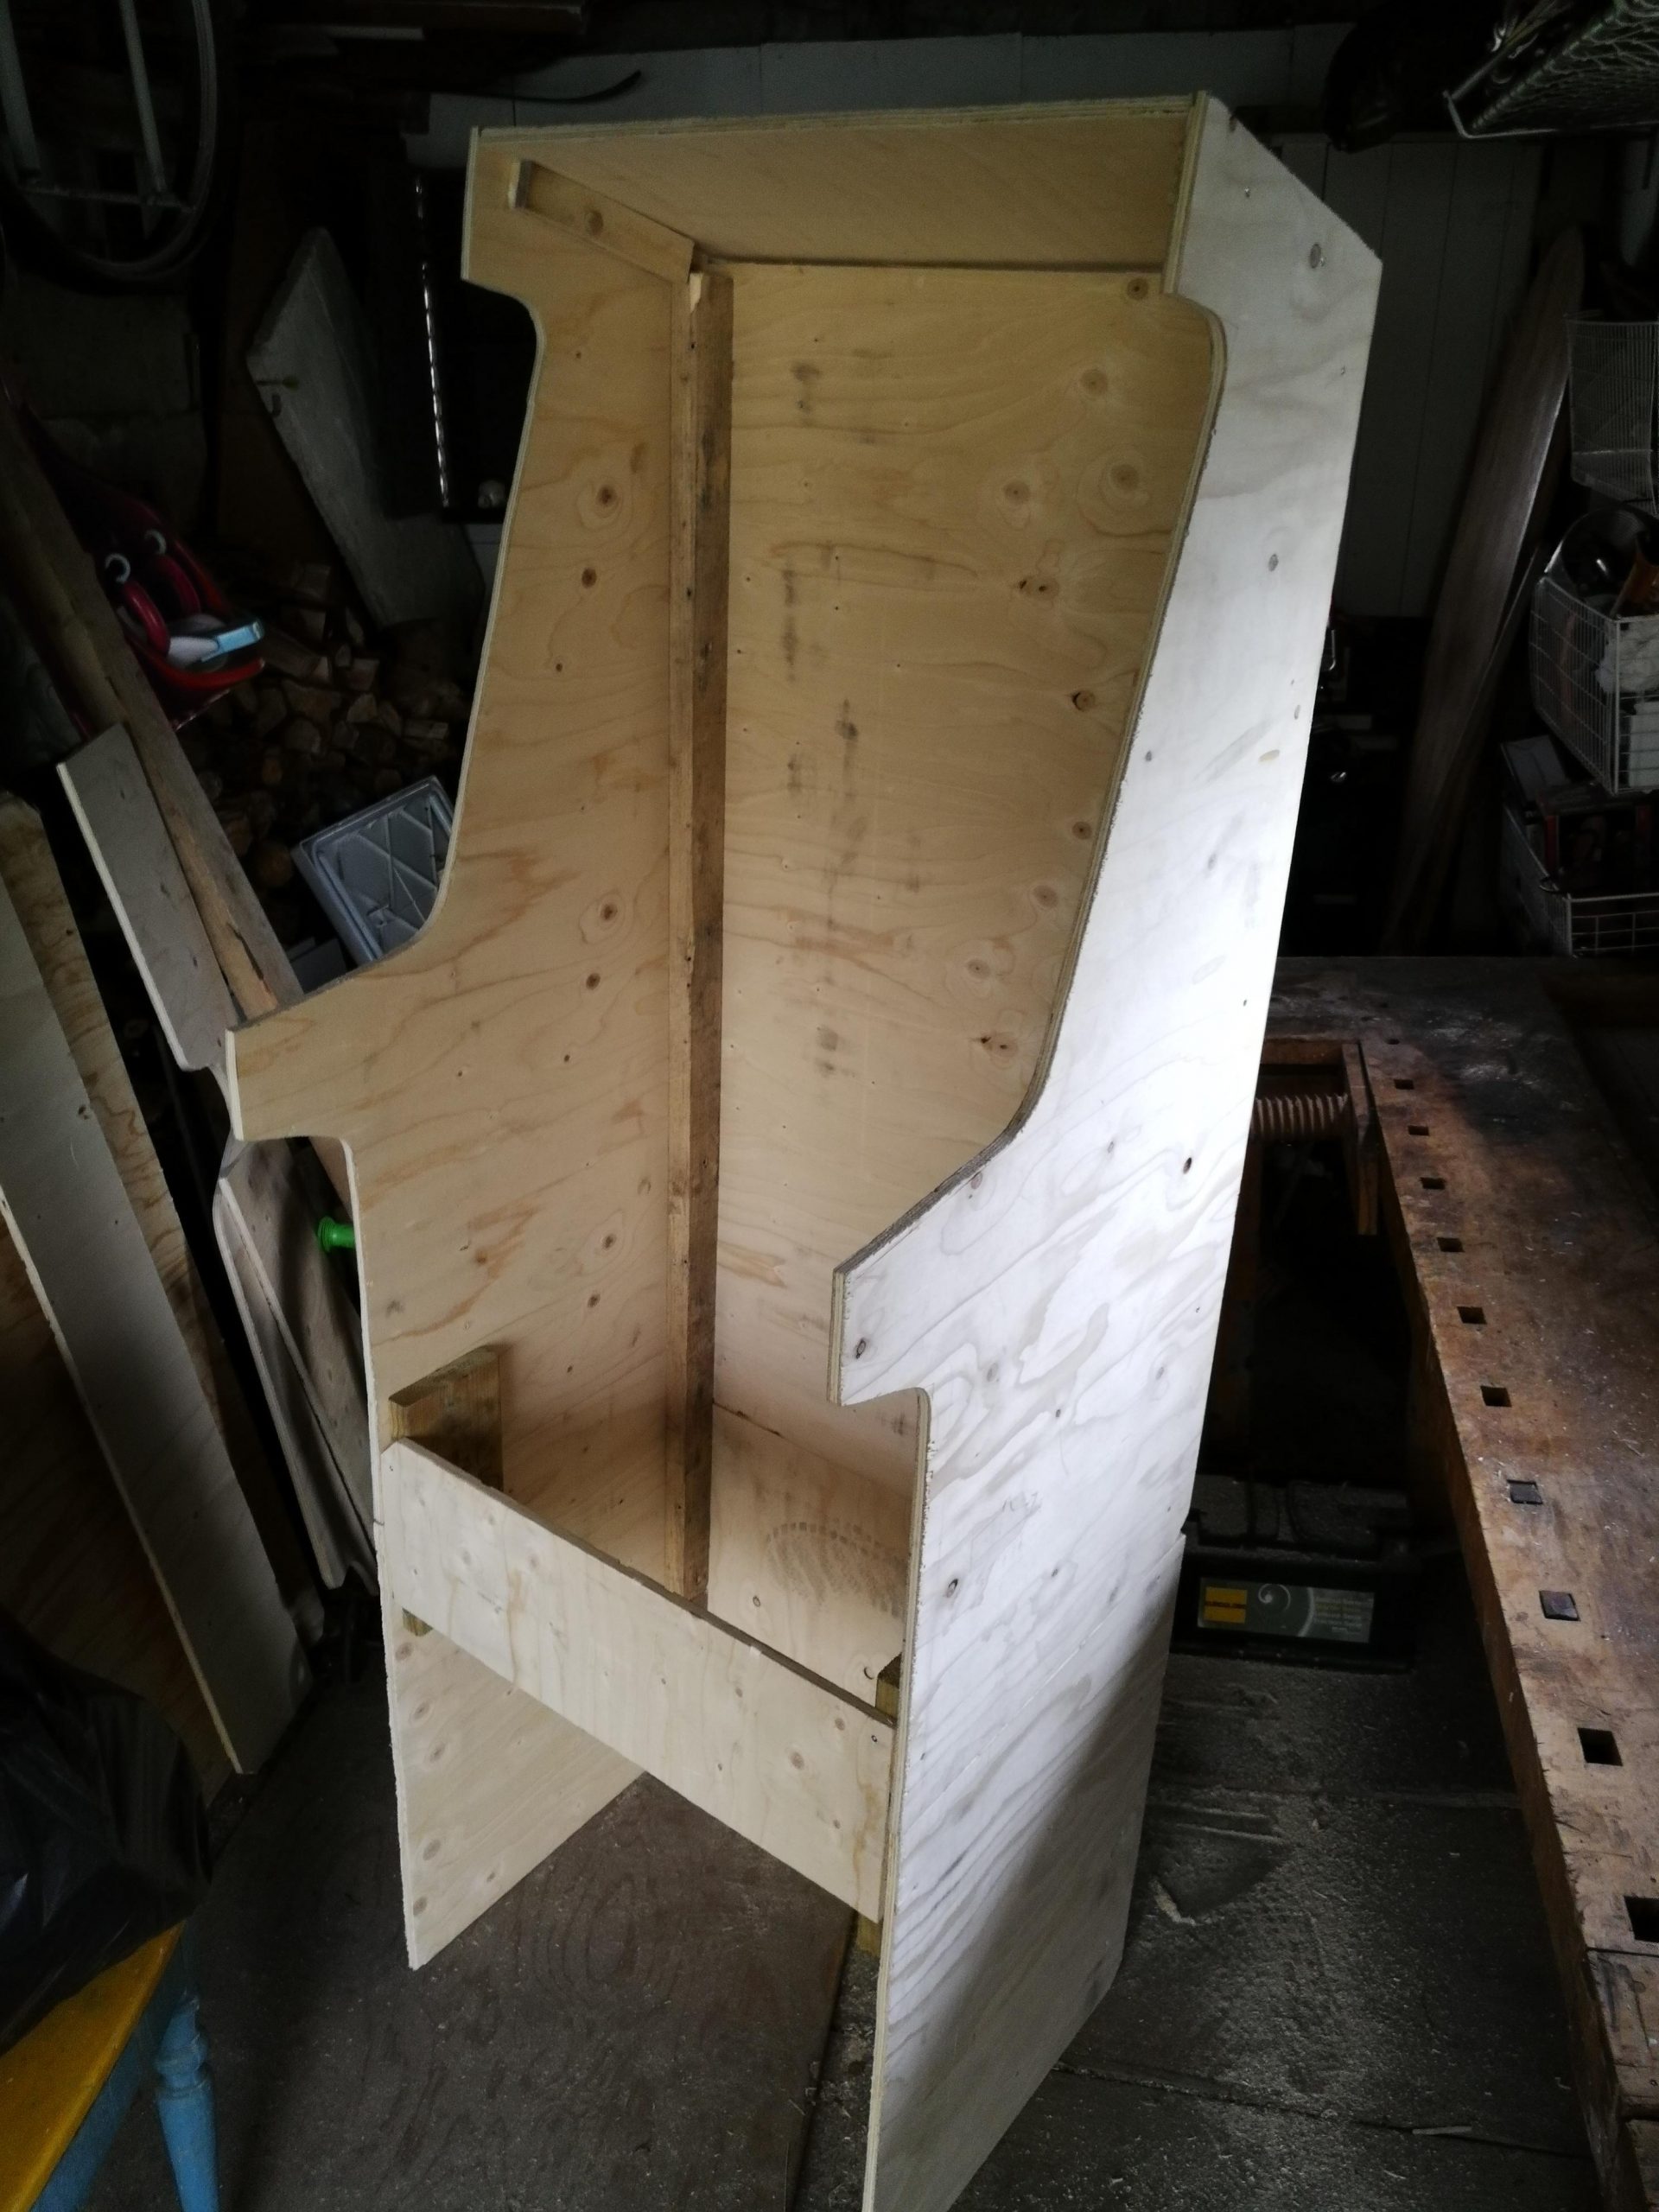
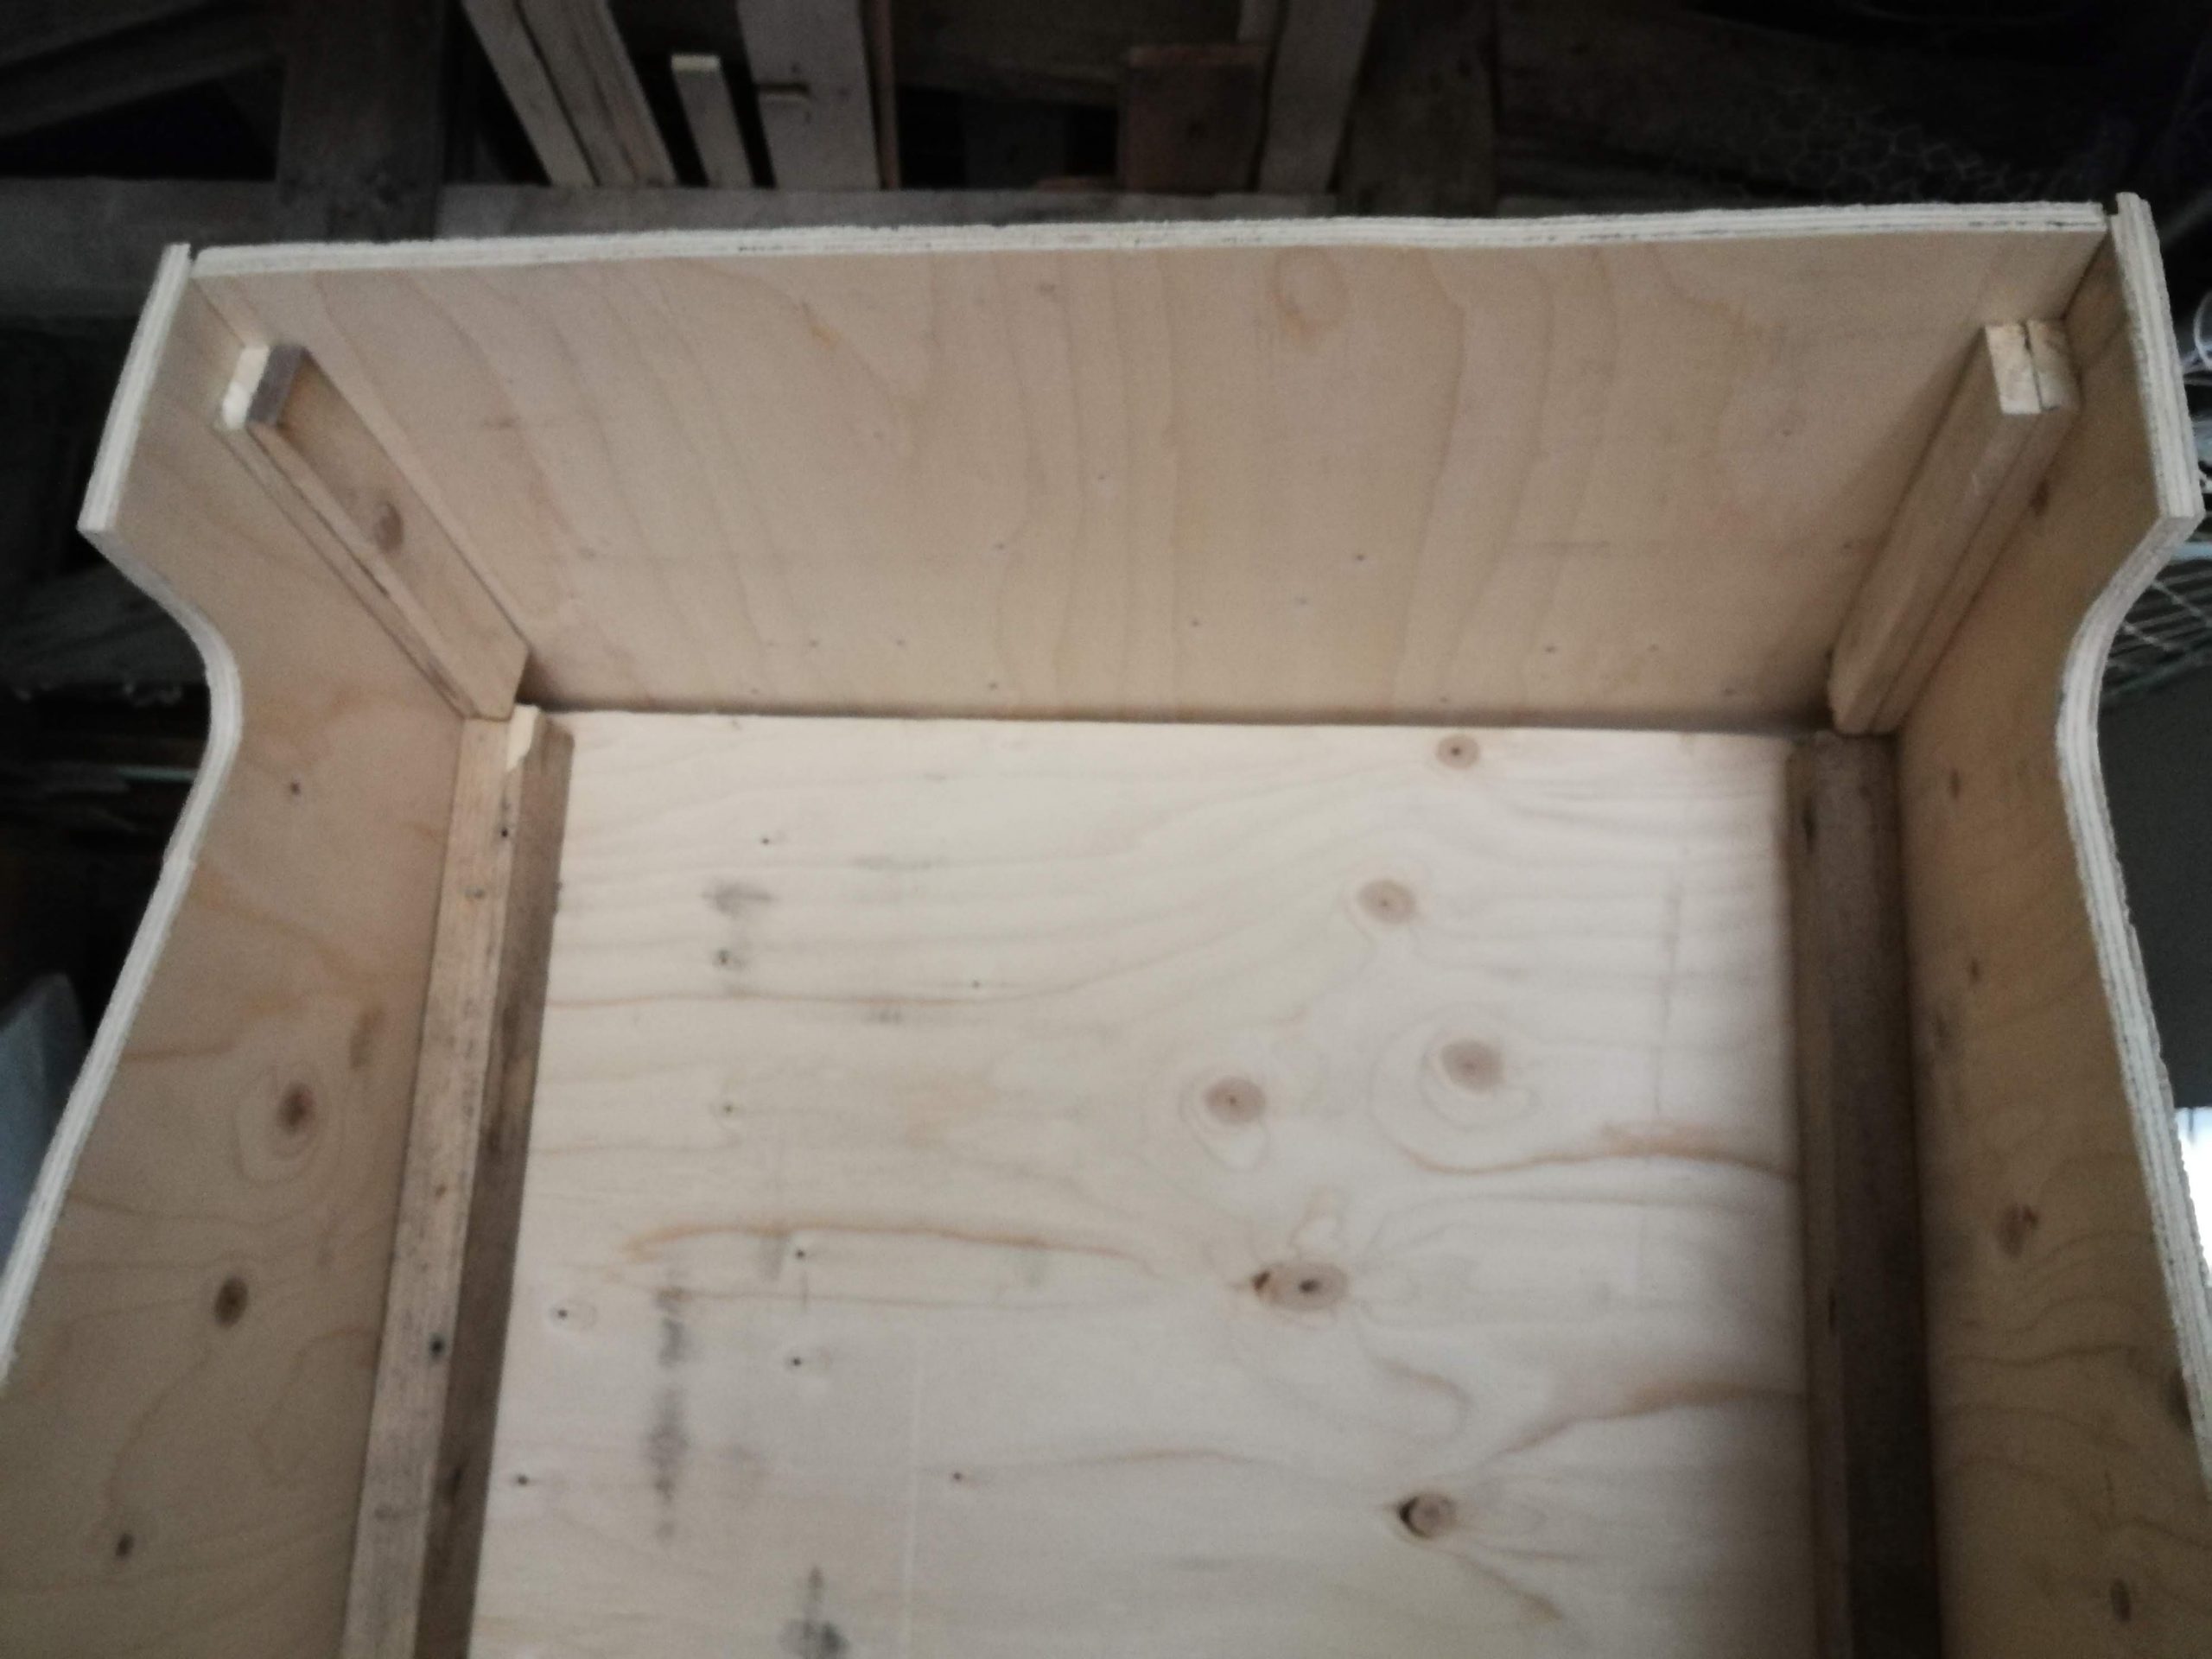
This lightweight wood my friend gave me was easy to work with and by using lumber in different lengths and dimensions, I set out to create a cabinet.

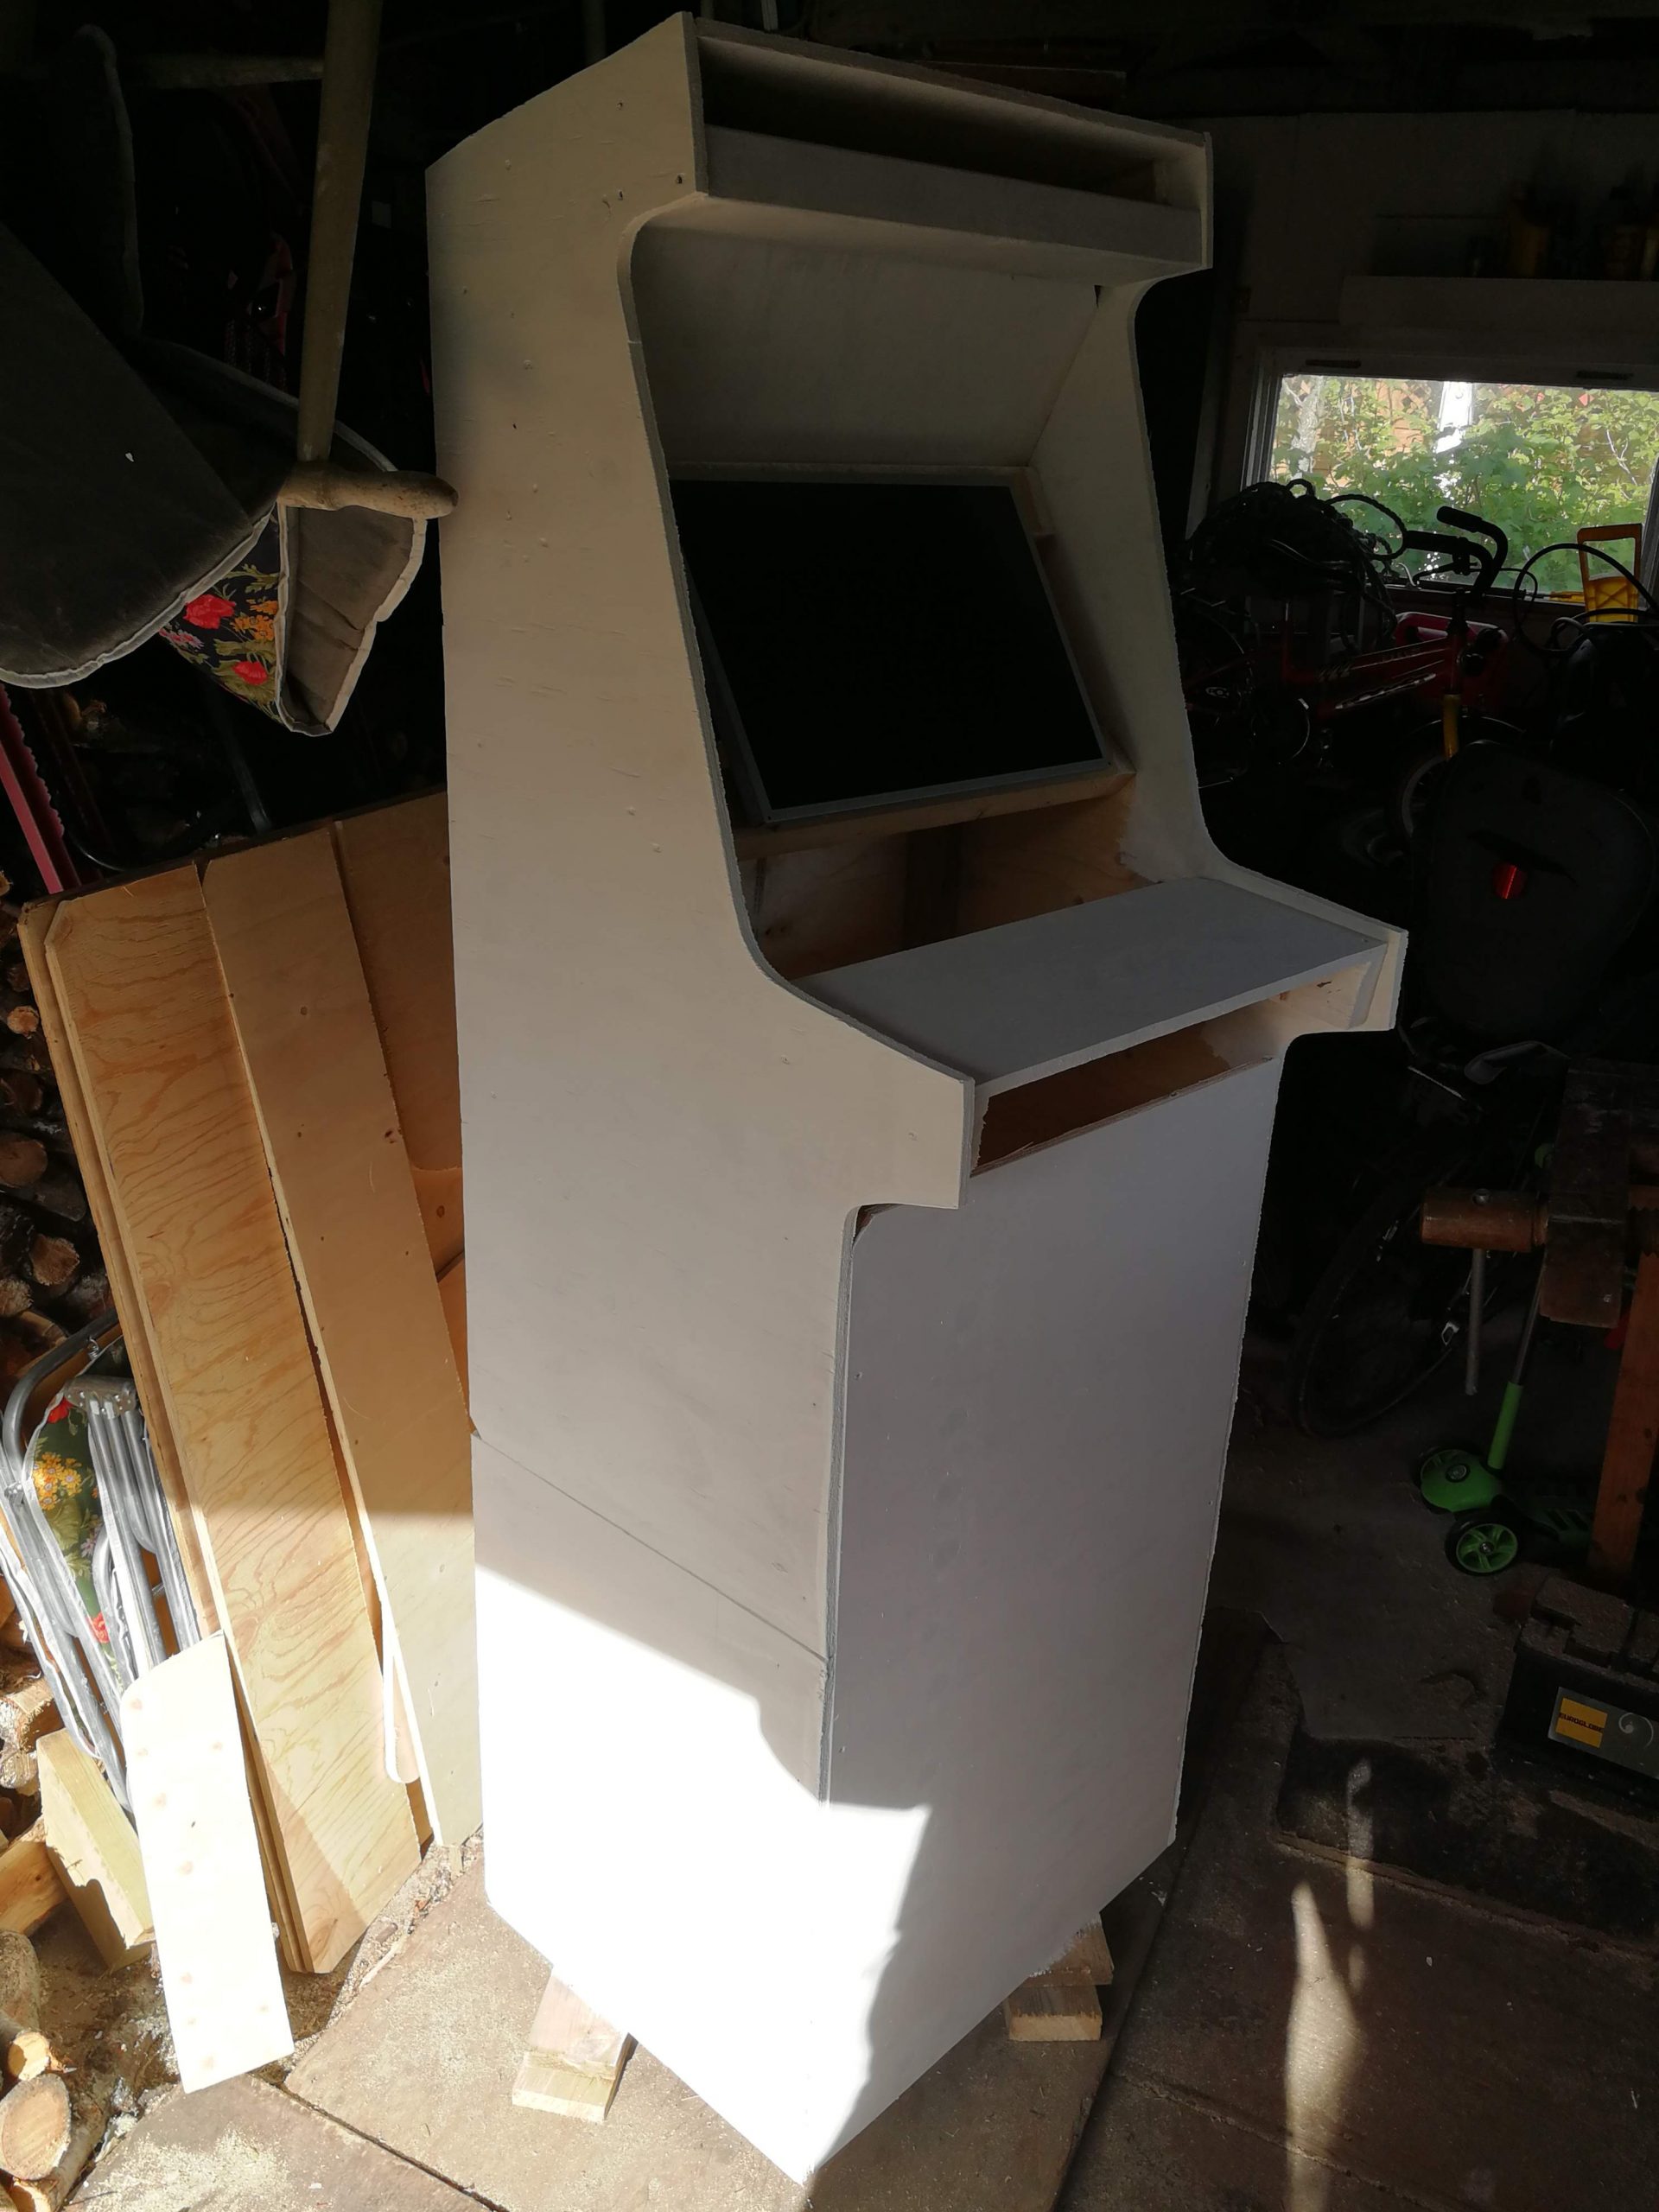
I wanted it to be a full size cabinet and not those table stands, and so I had to strengthen it as much as I could and create a floor plan in it for future pegs or wheels.

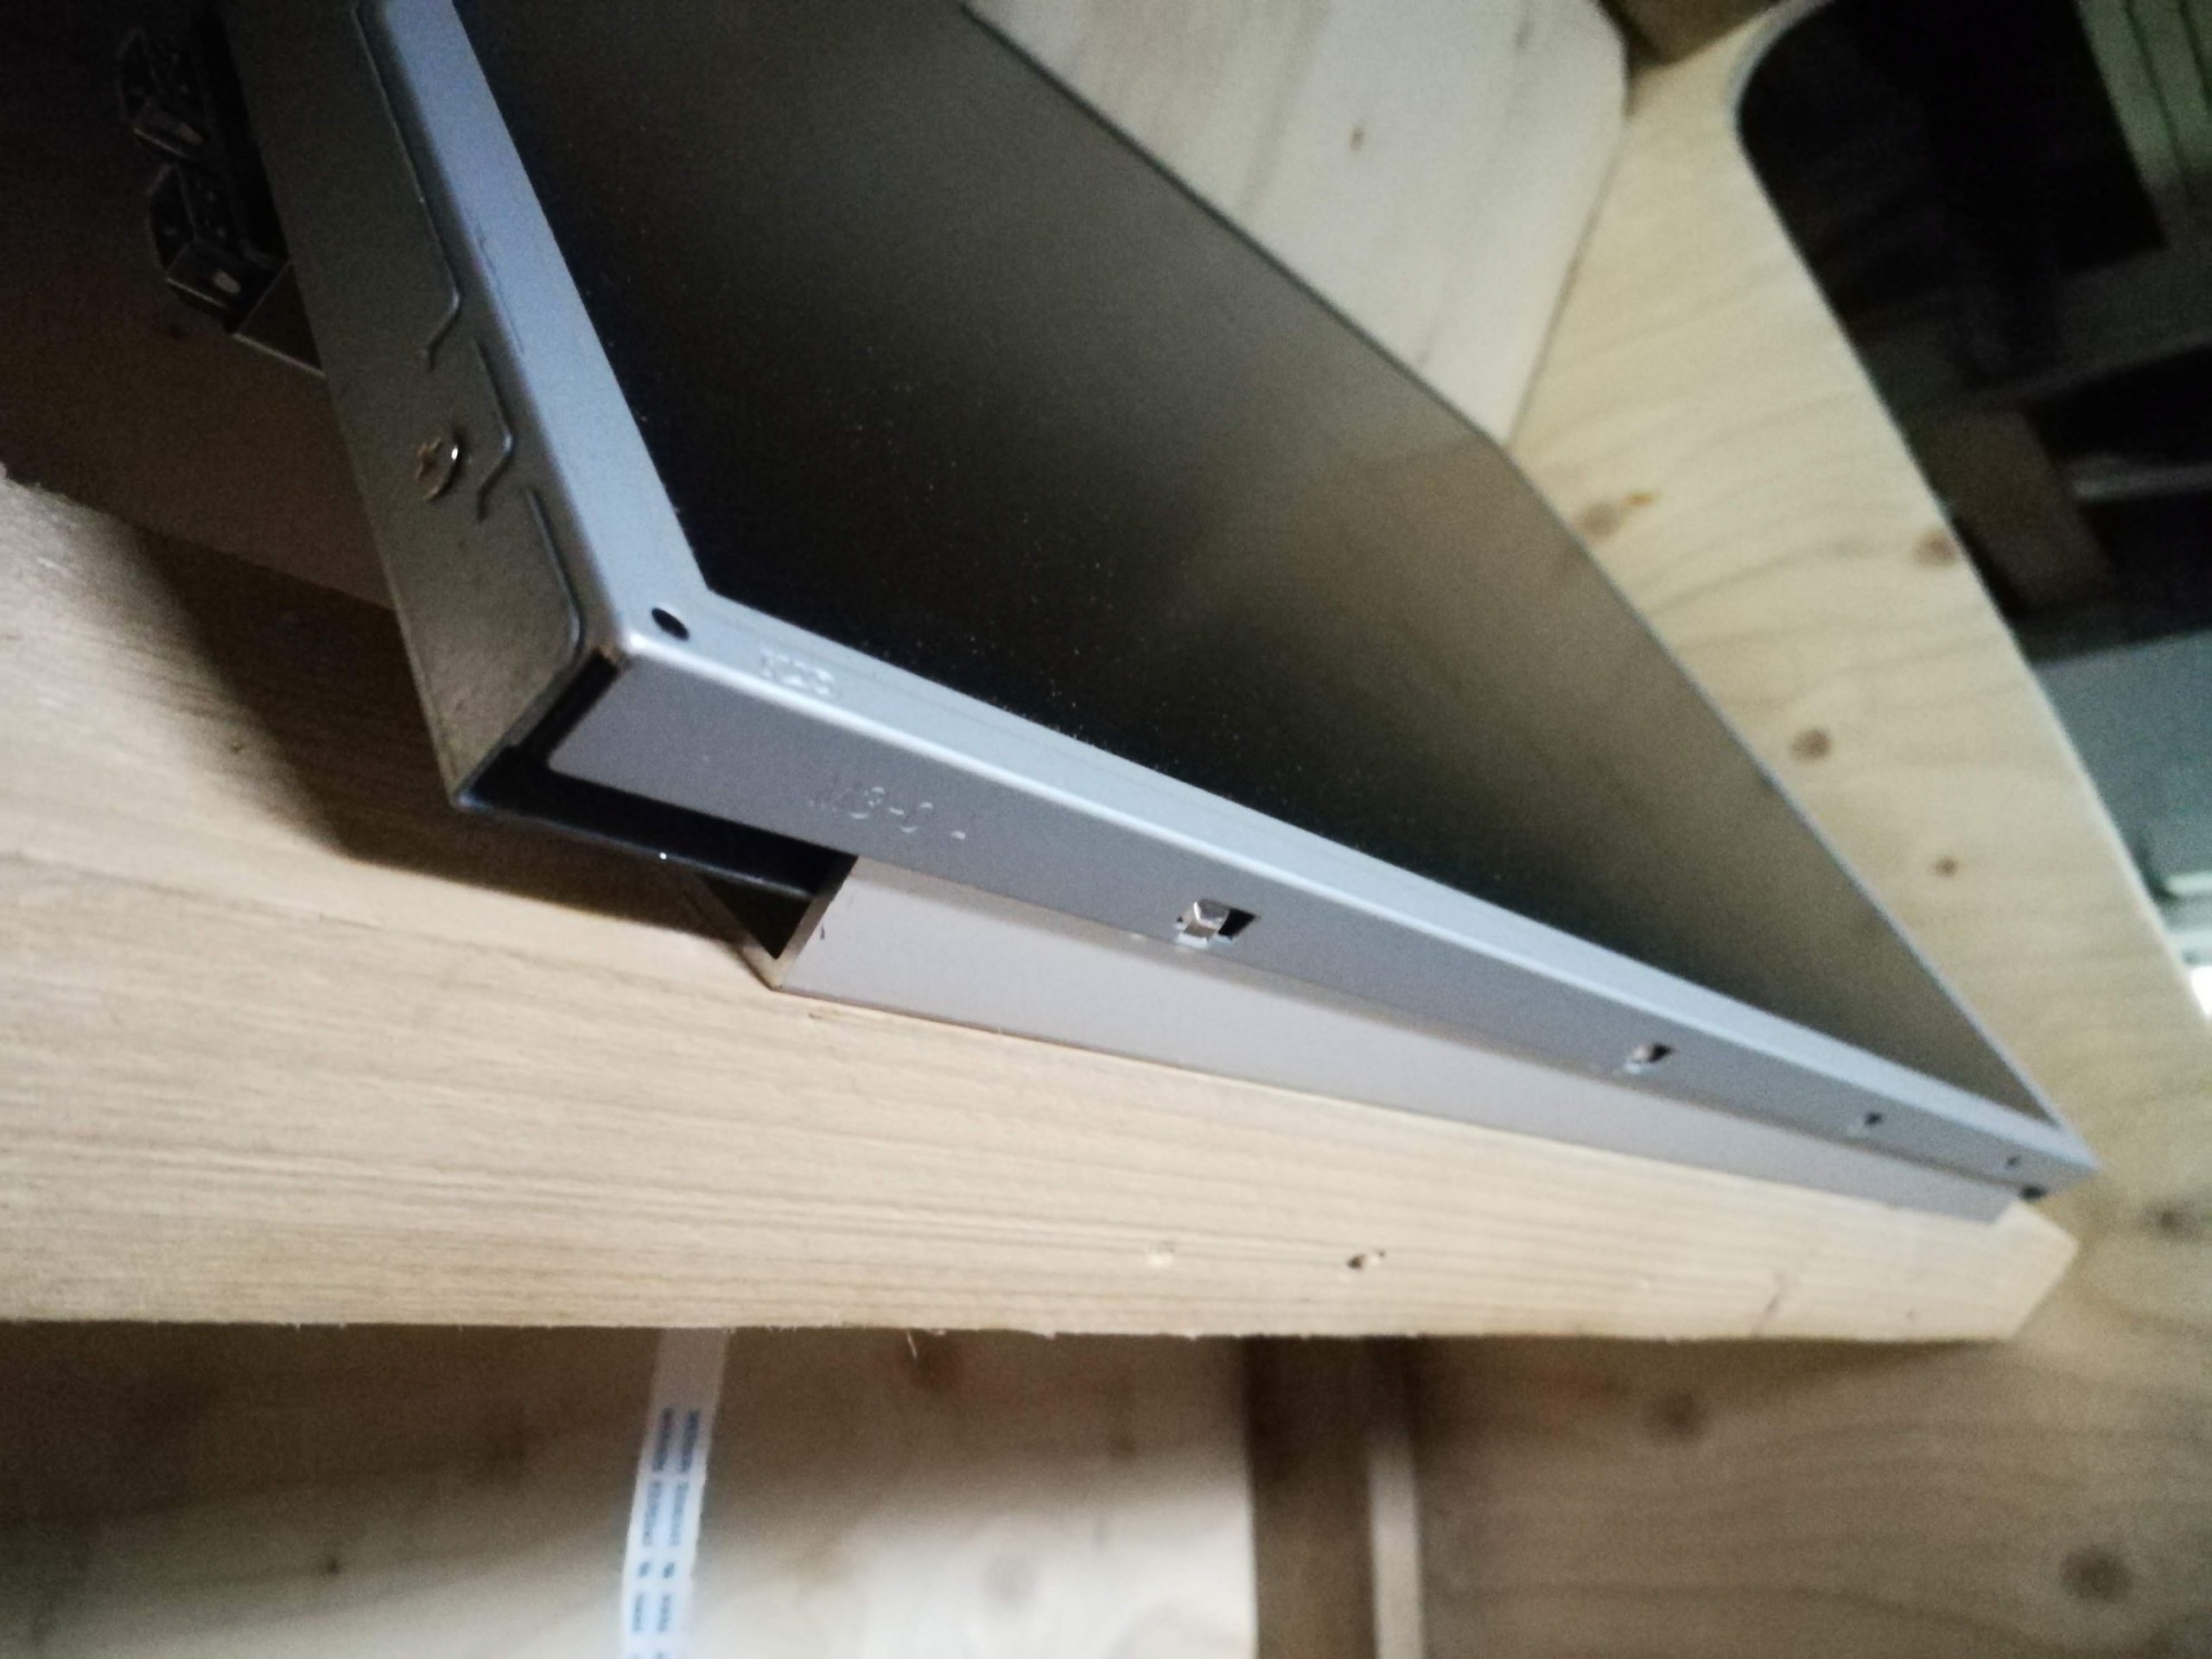
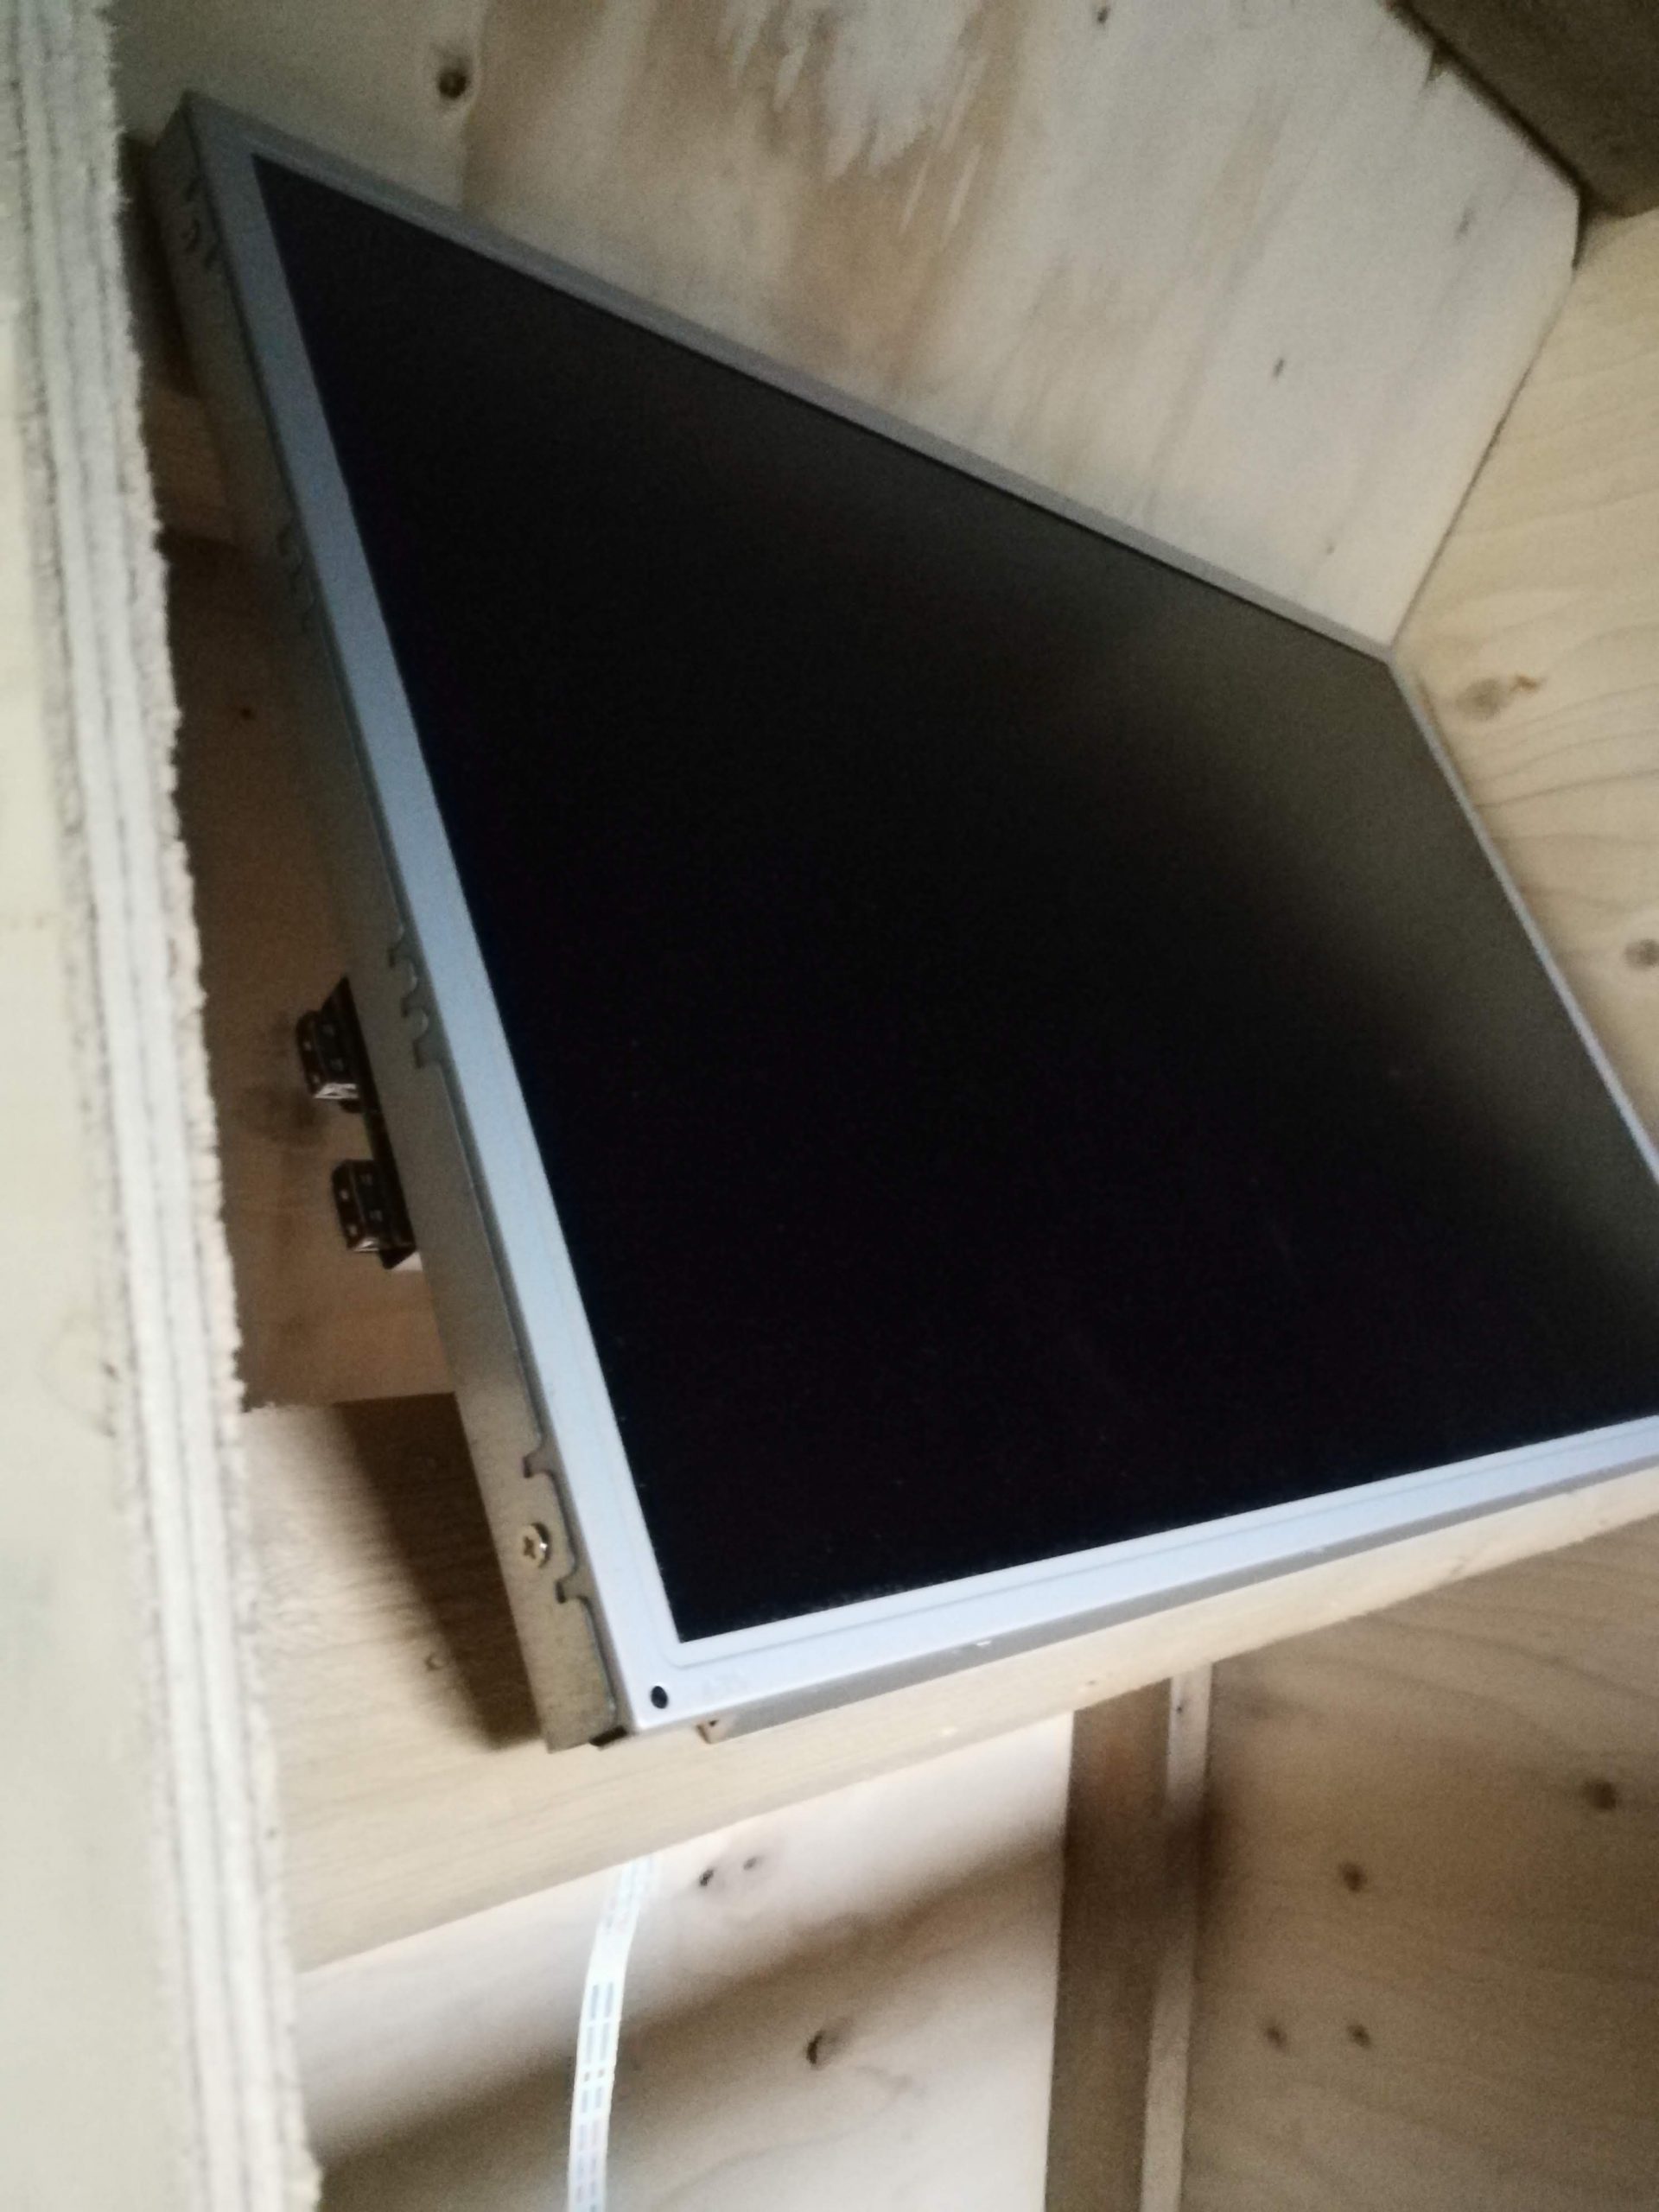
I installed an old monitor stripped of its frame and a set of old PC speakers. For the game computer I used a raspberry pi mini computer which I have worked with before on various projects.
I downloaded the latest retropie disc image and wrote it onto a micro sd card I had already. This would give me the base system for the arcade.

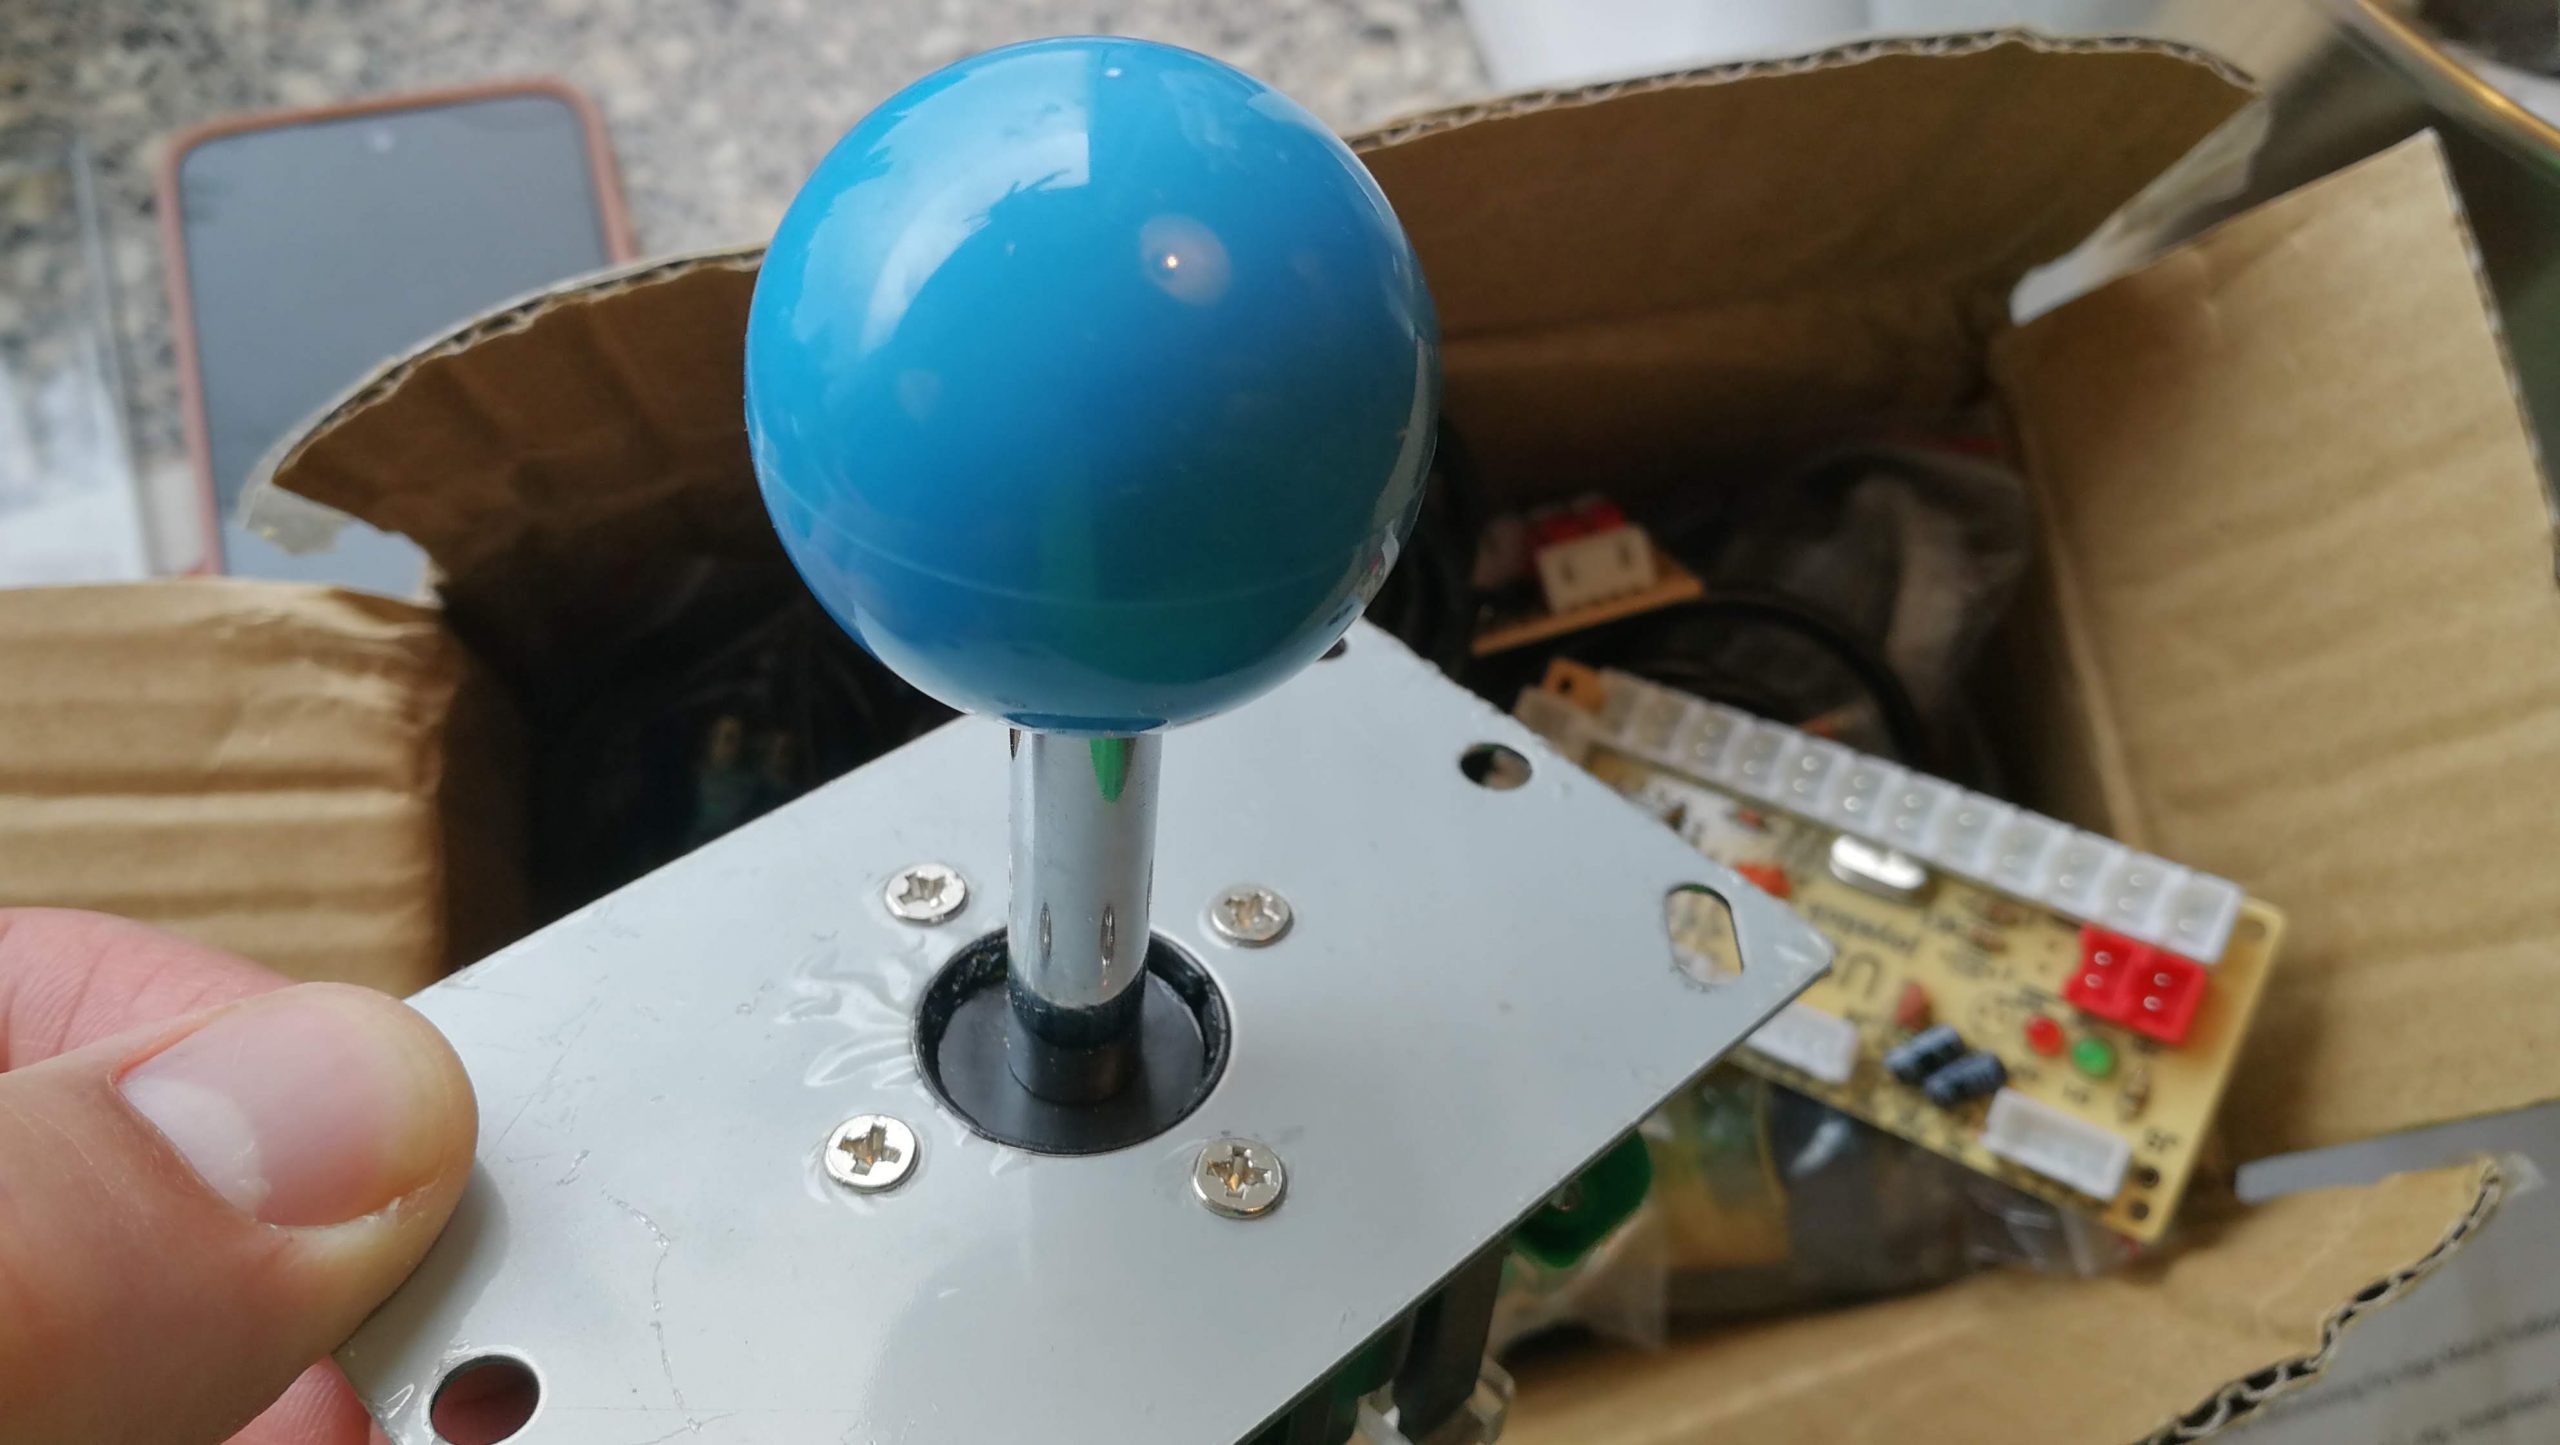
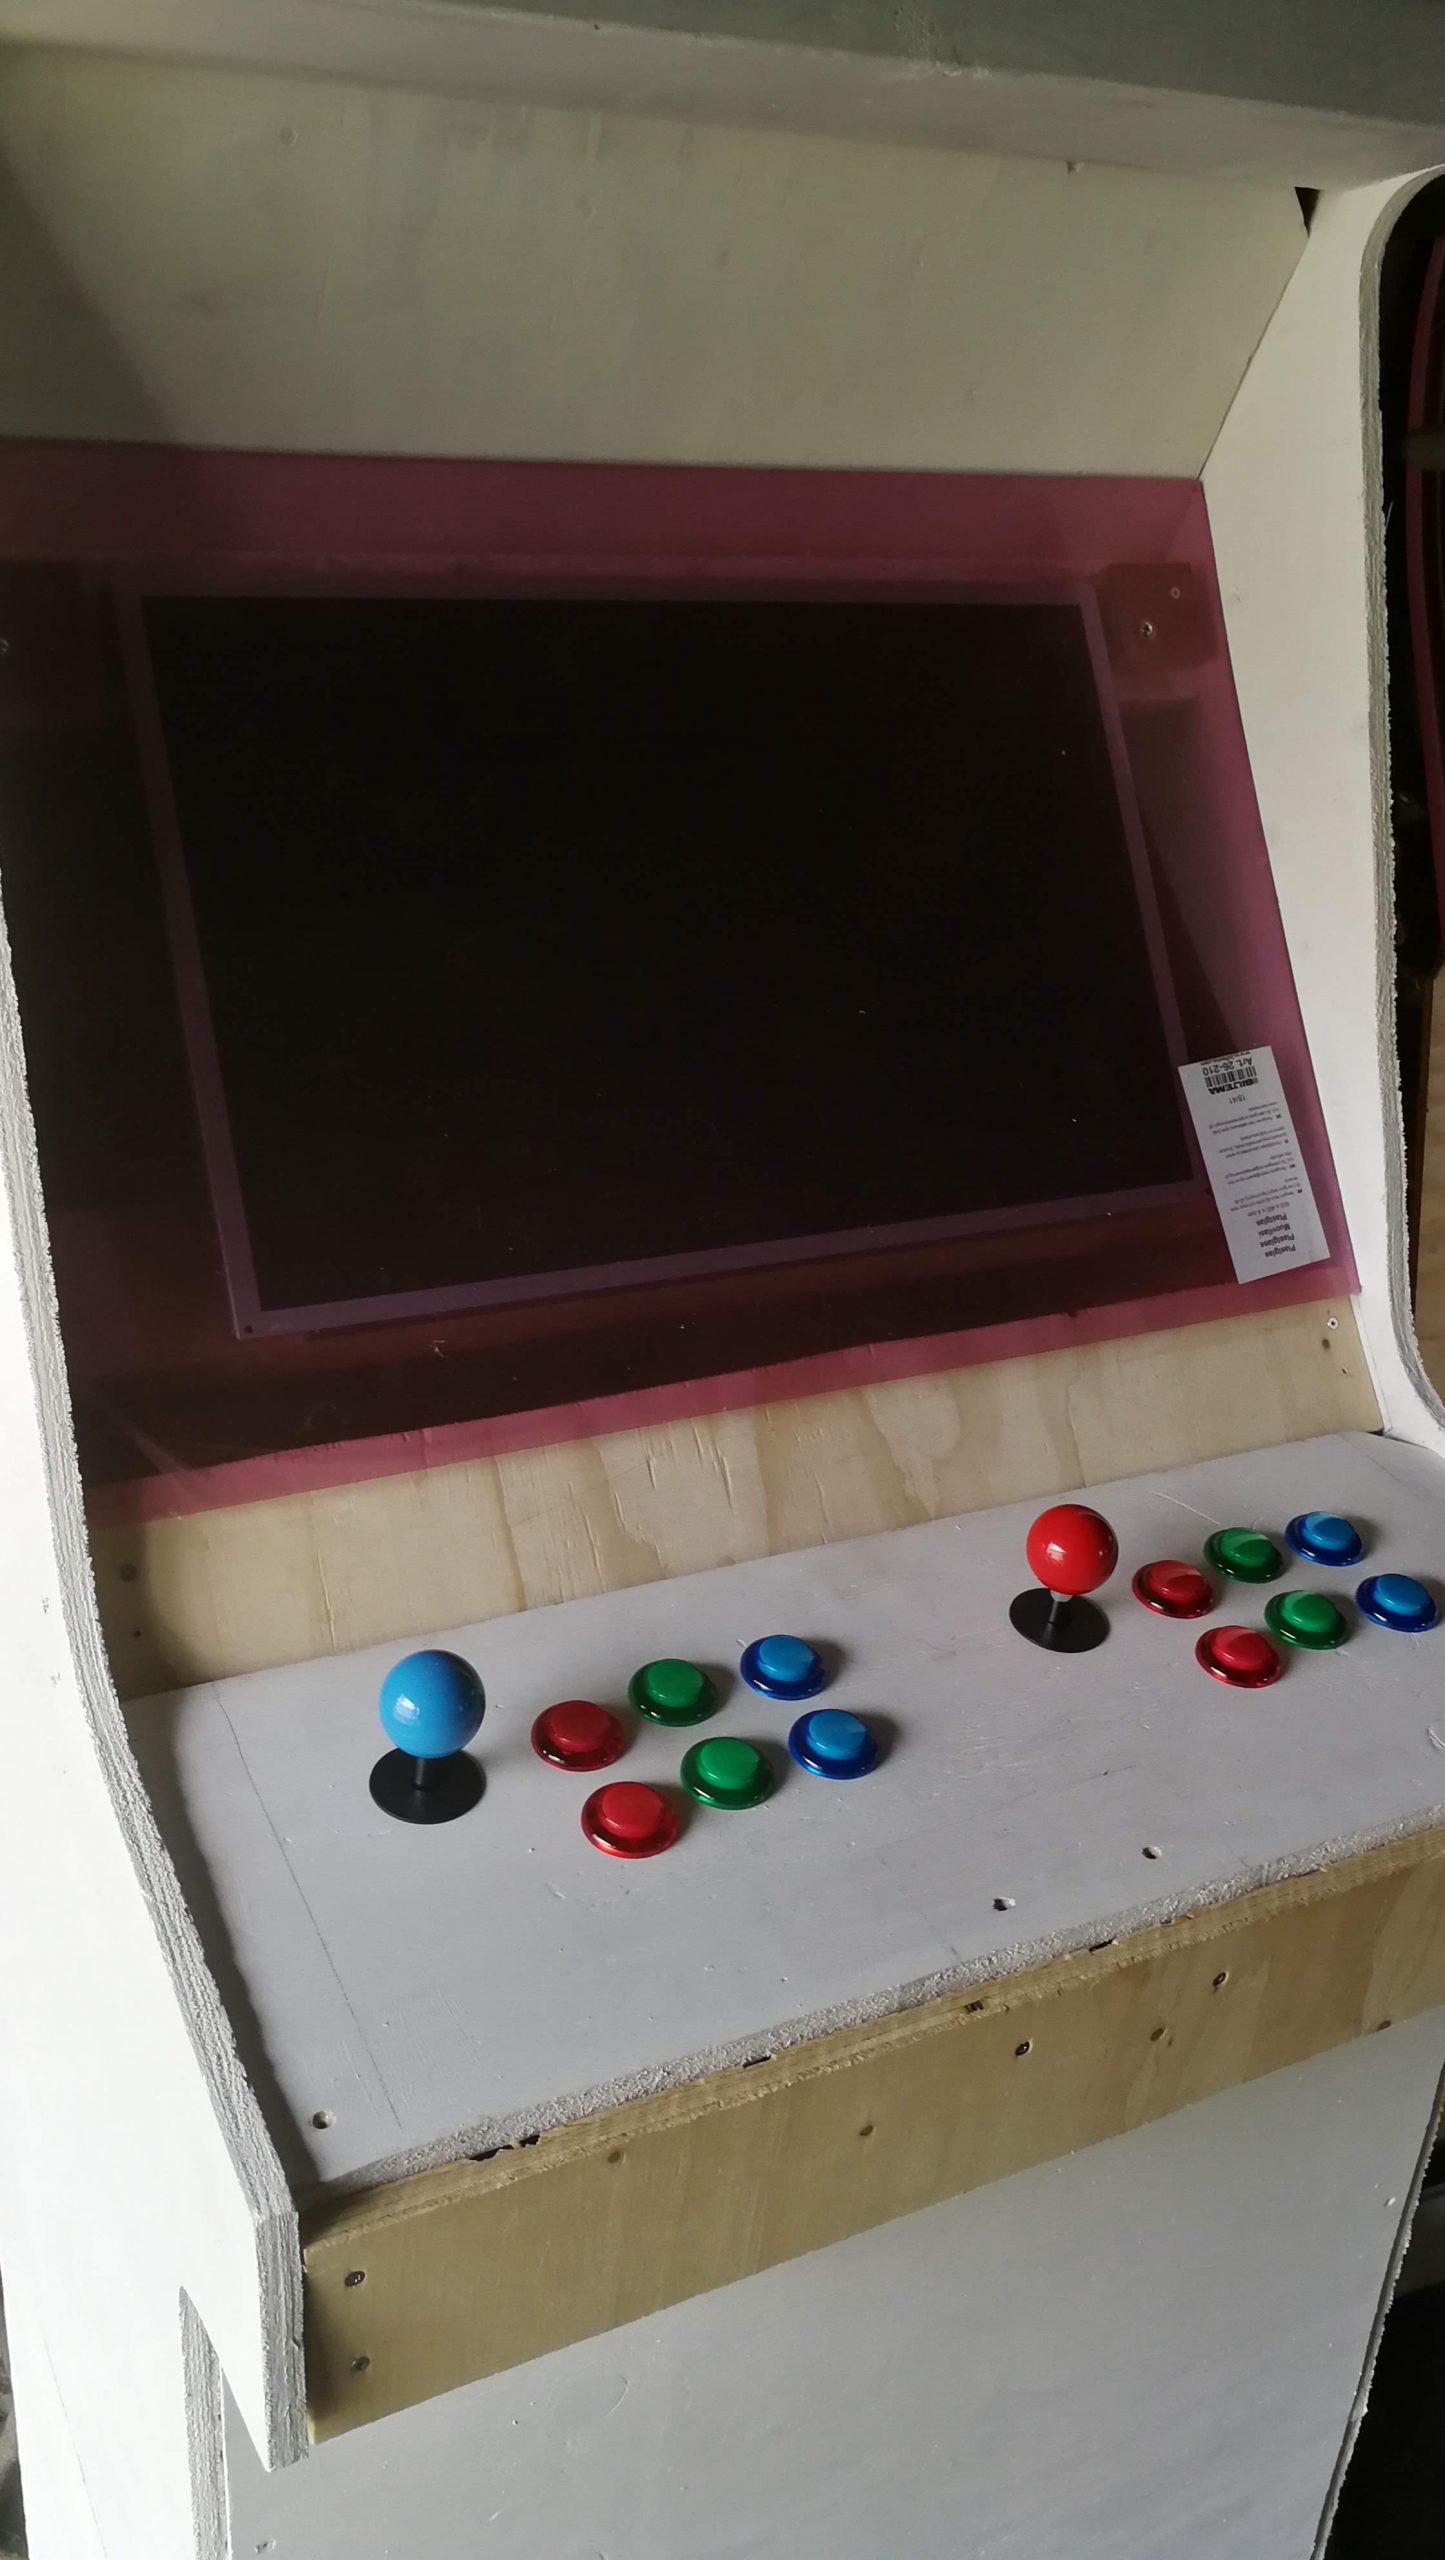
The controls was probably the only thing I would need to buy, and I did found a kit on eBay (which arrived weeks later).

After drilling out holes for the joysticks and buttons (again, based on what sensible placement/spacing was used in pictures I found online), it was easy to connect it to the mini computers USB ports, and didn’t require soldering.
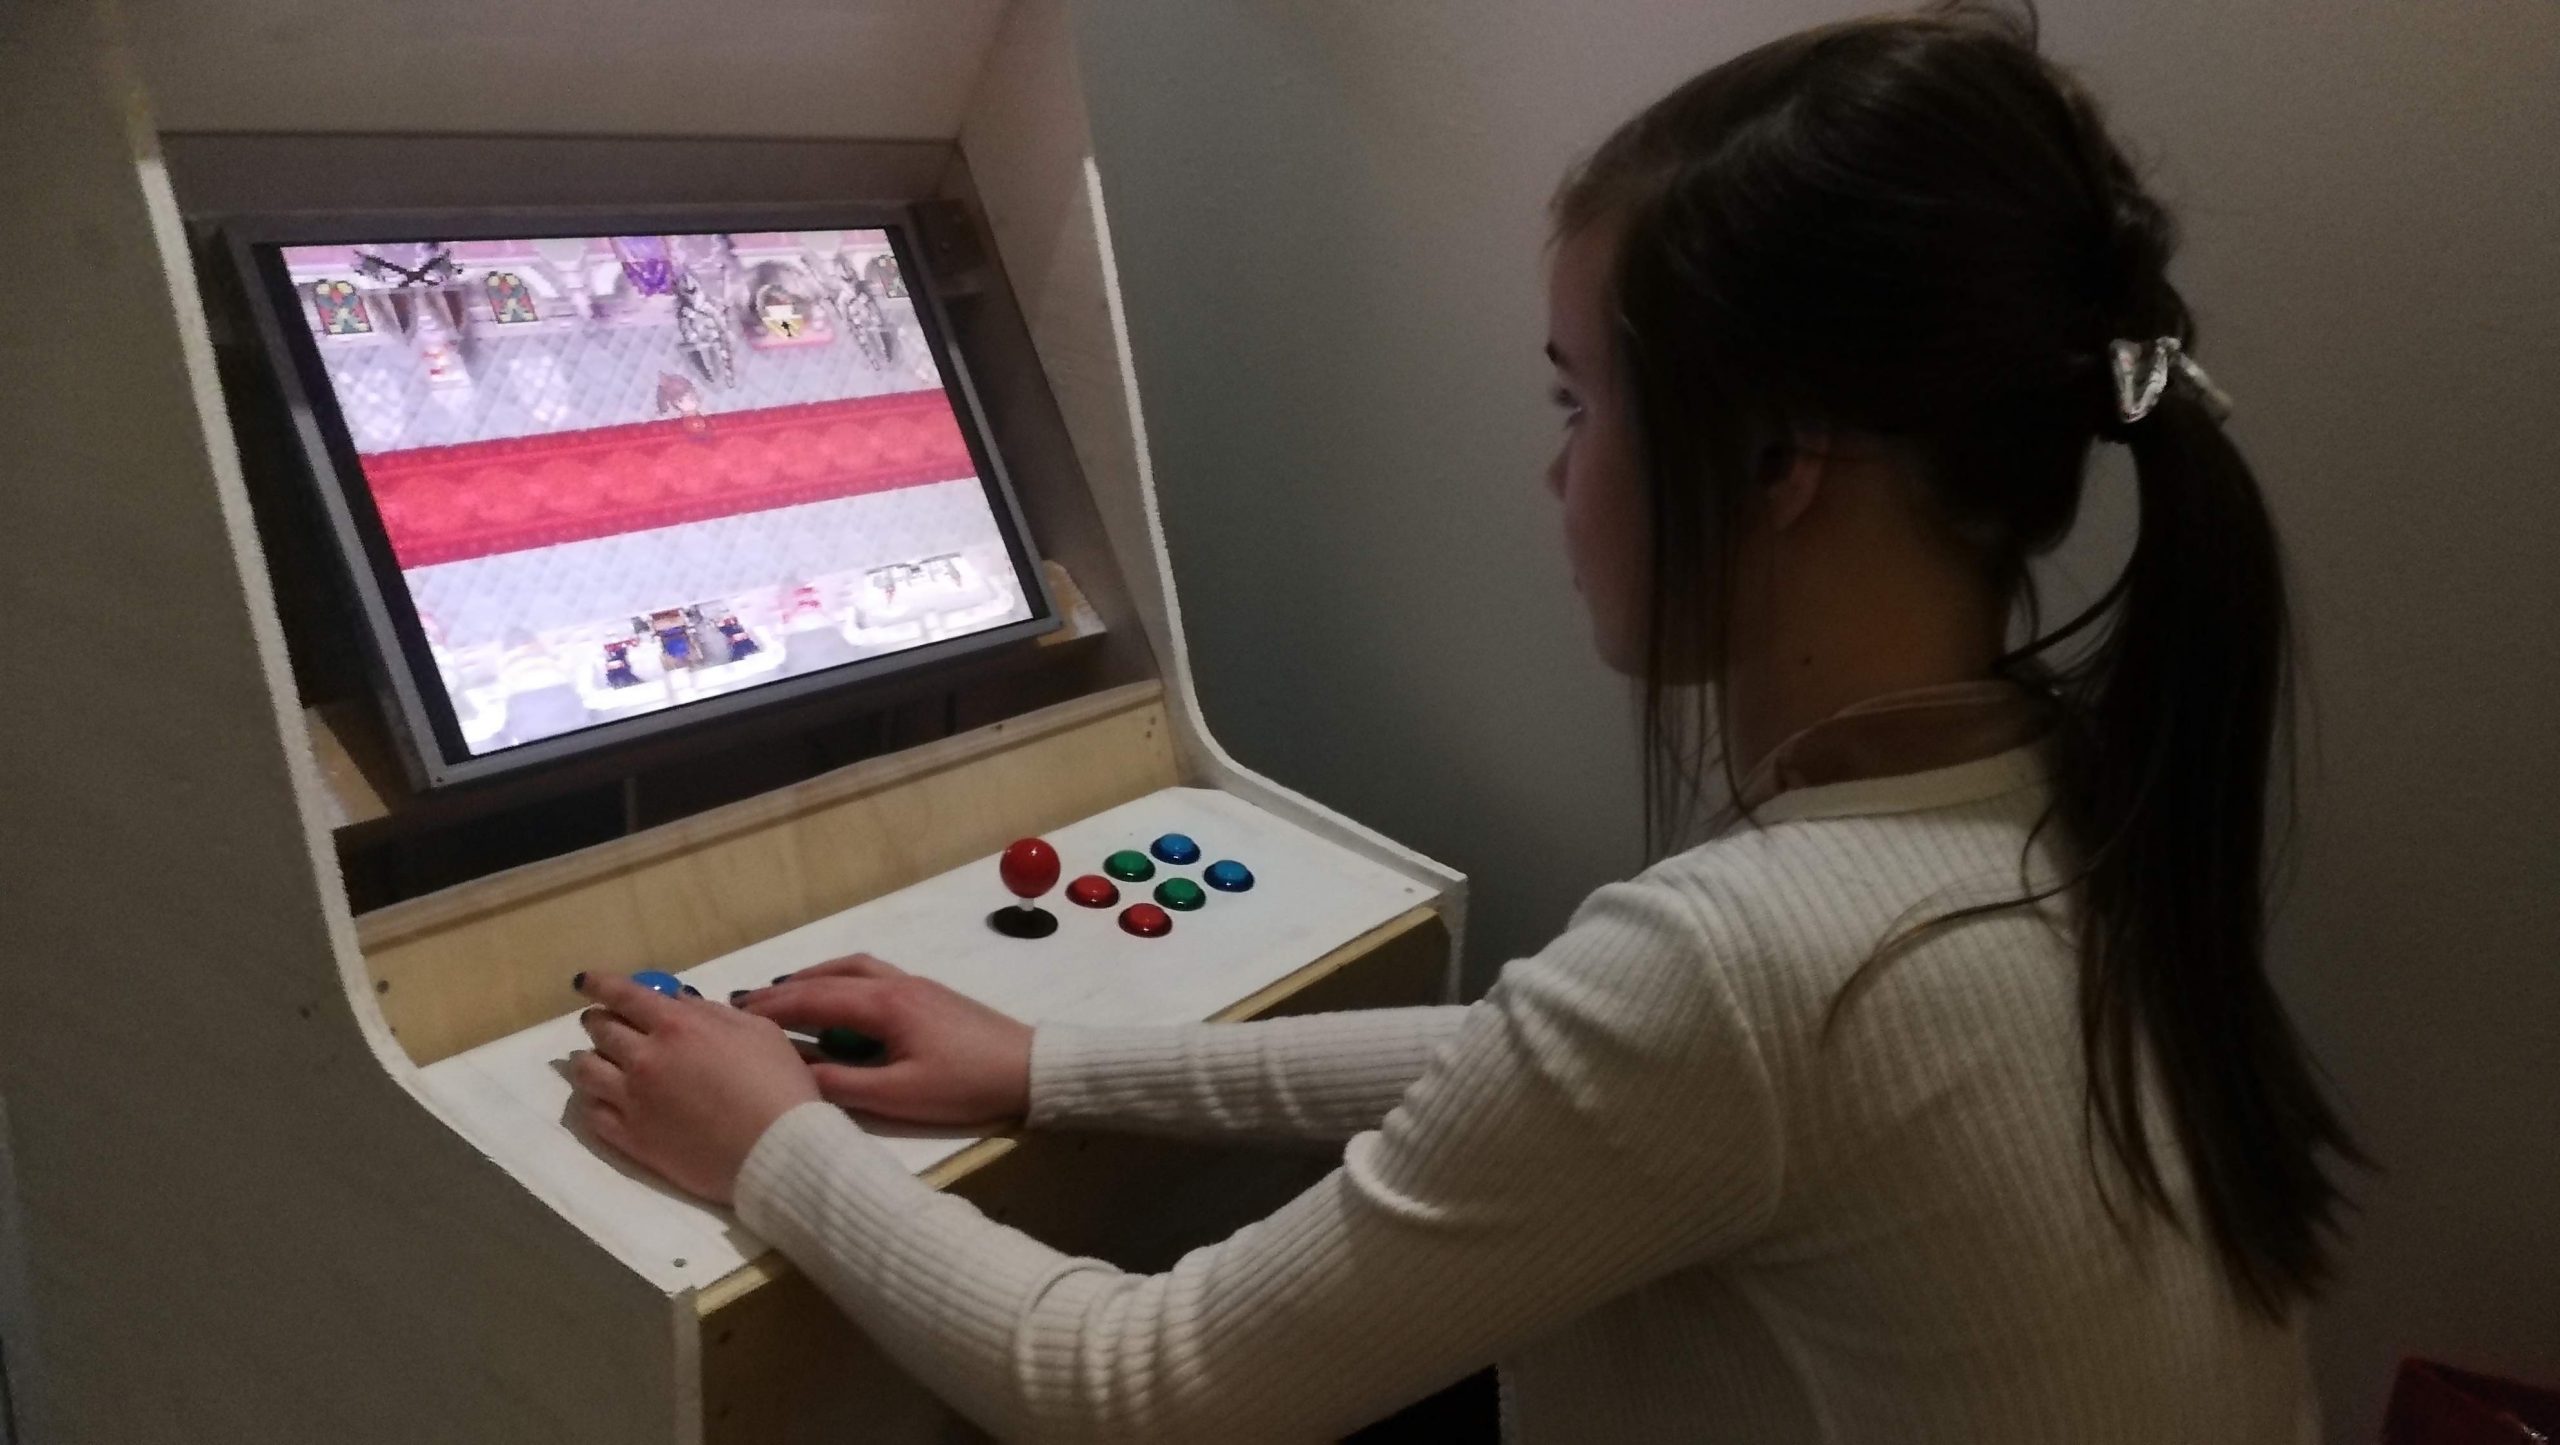
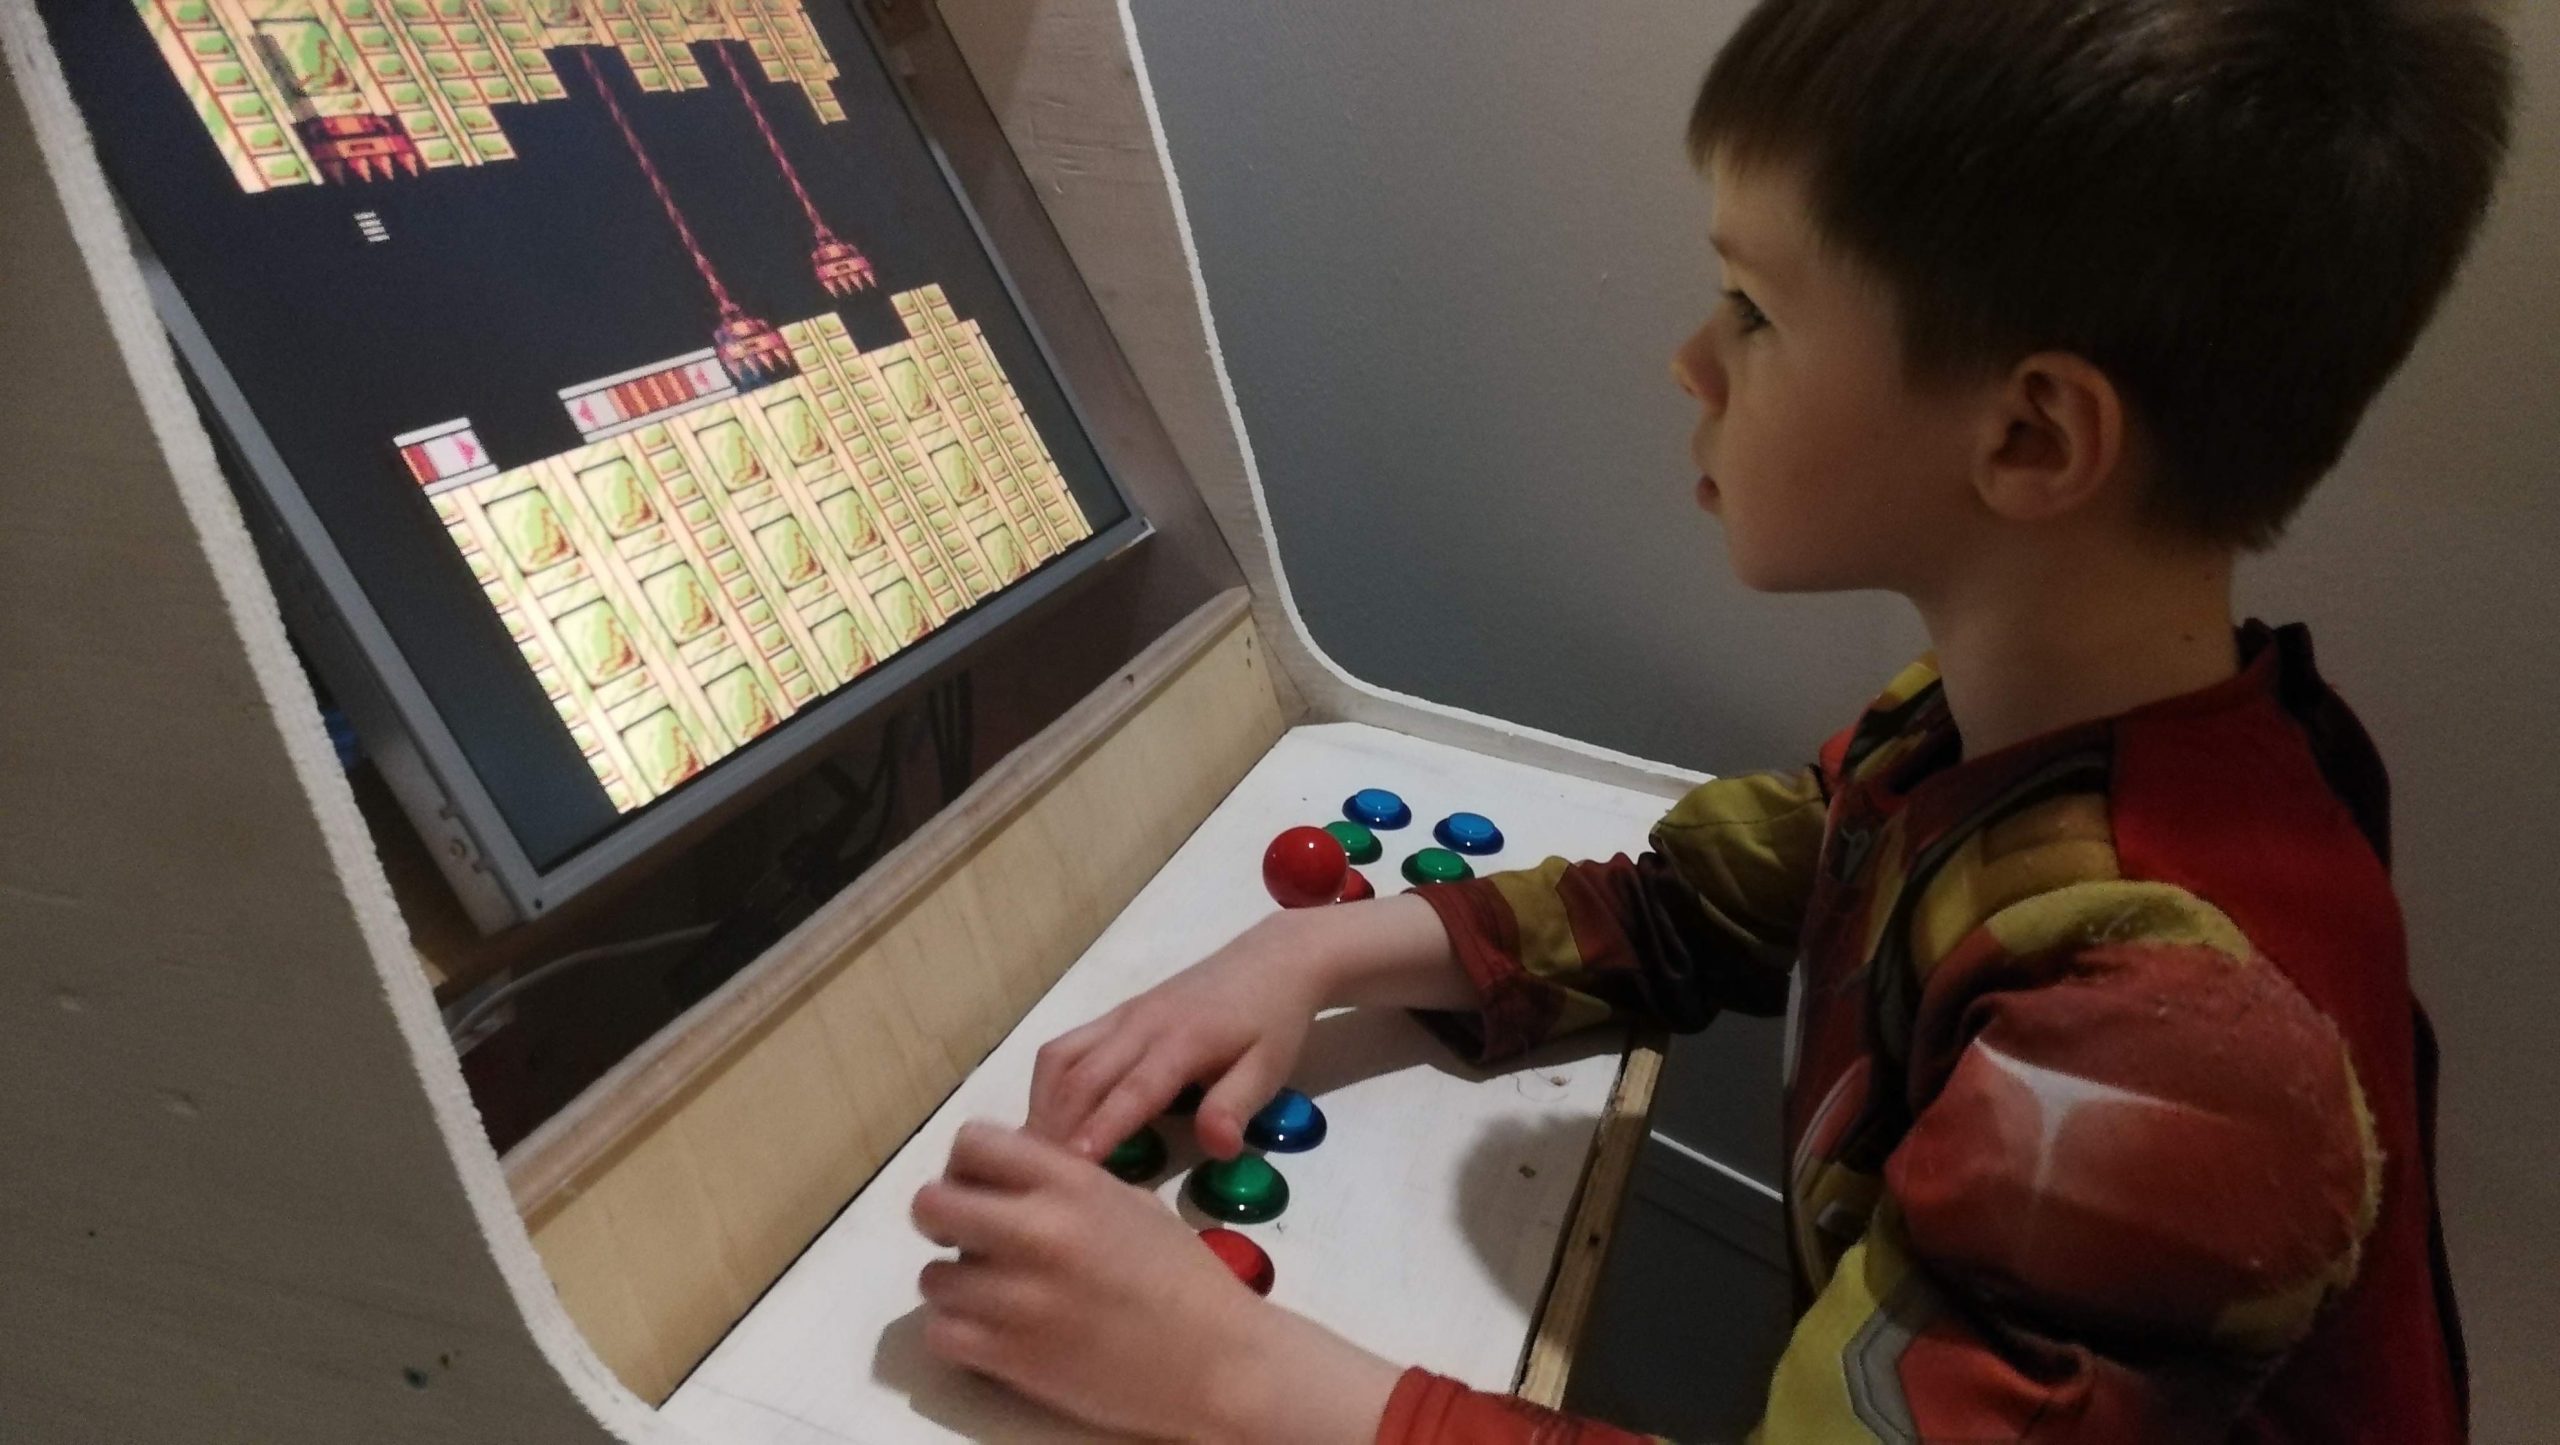
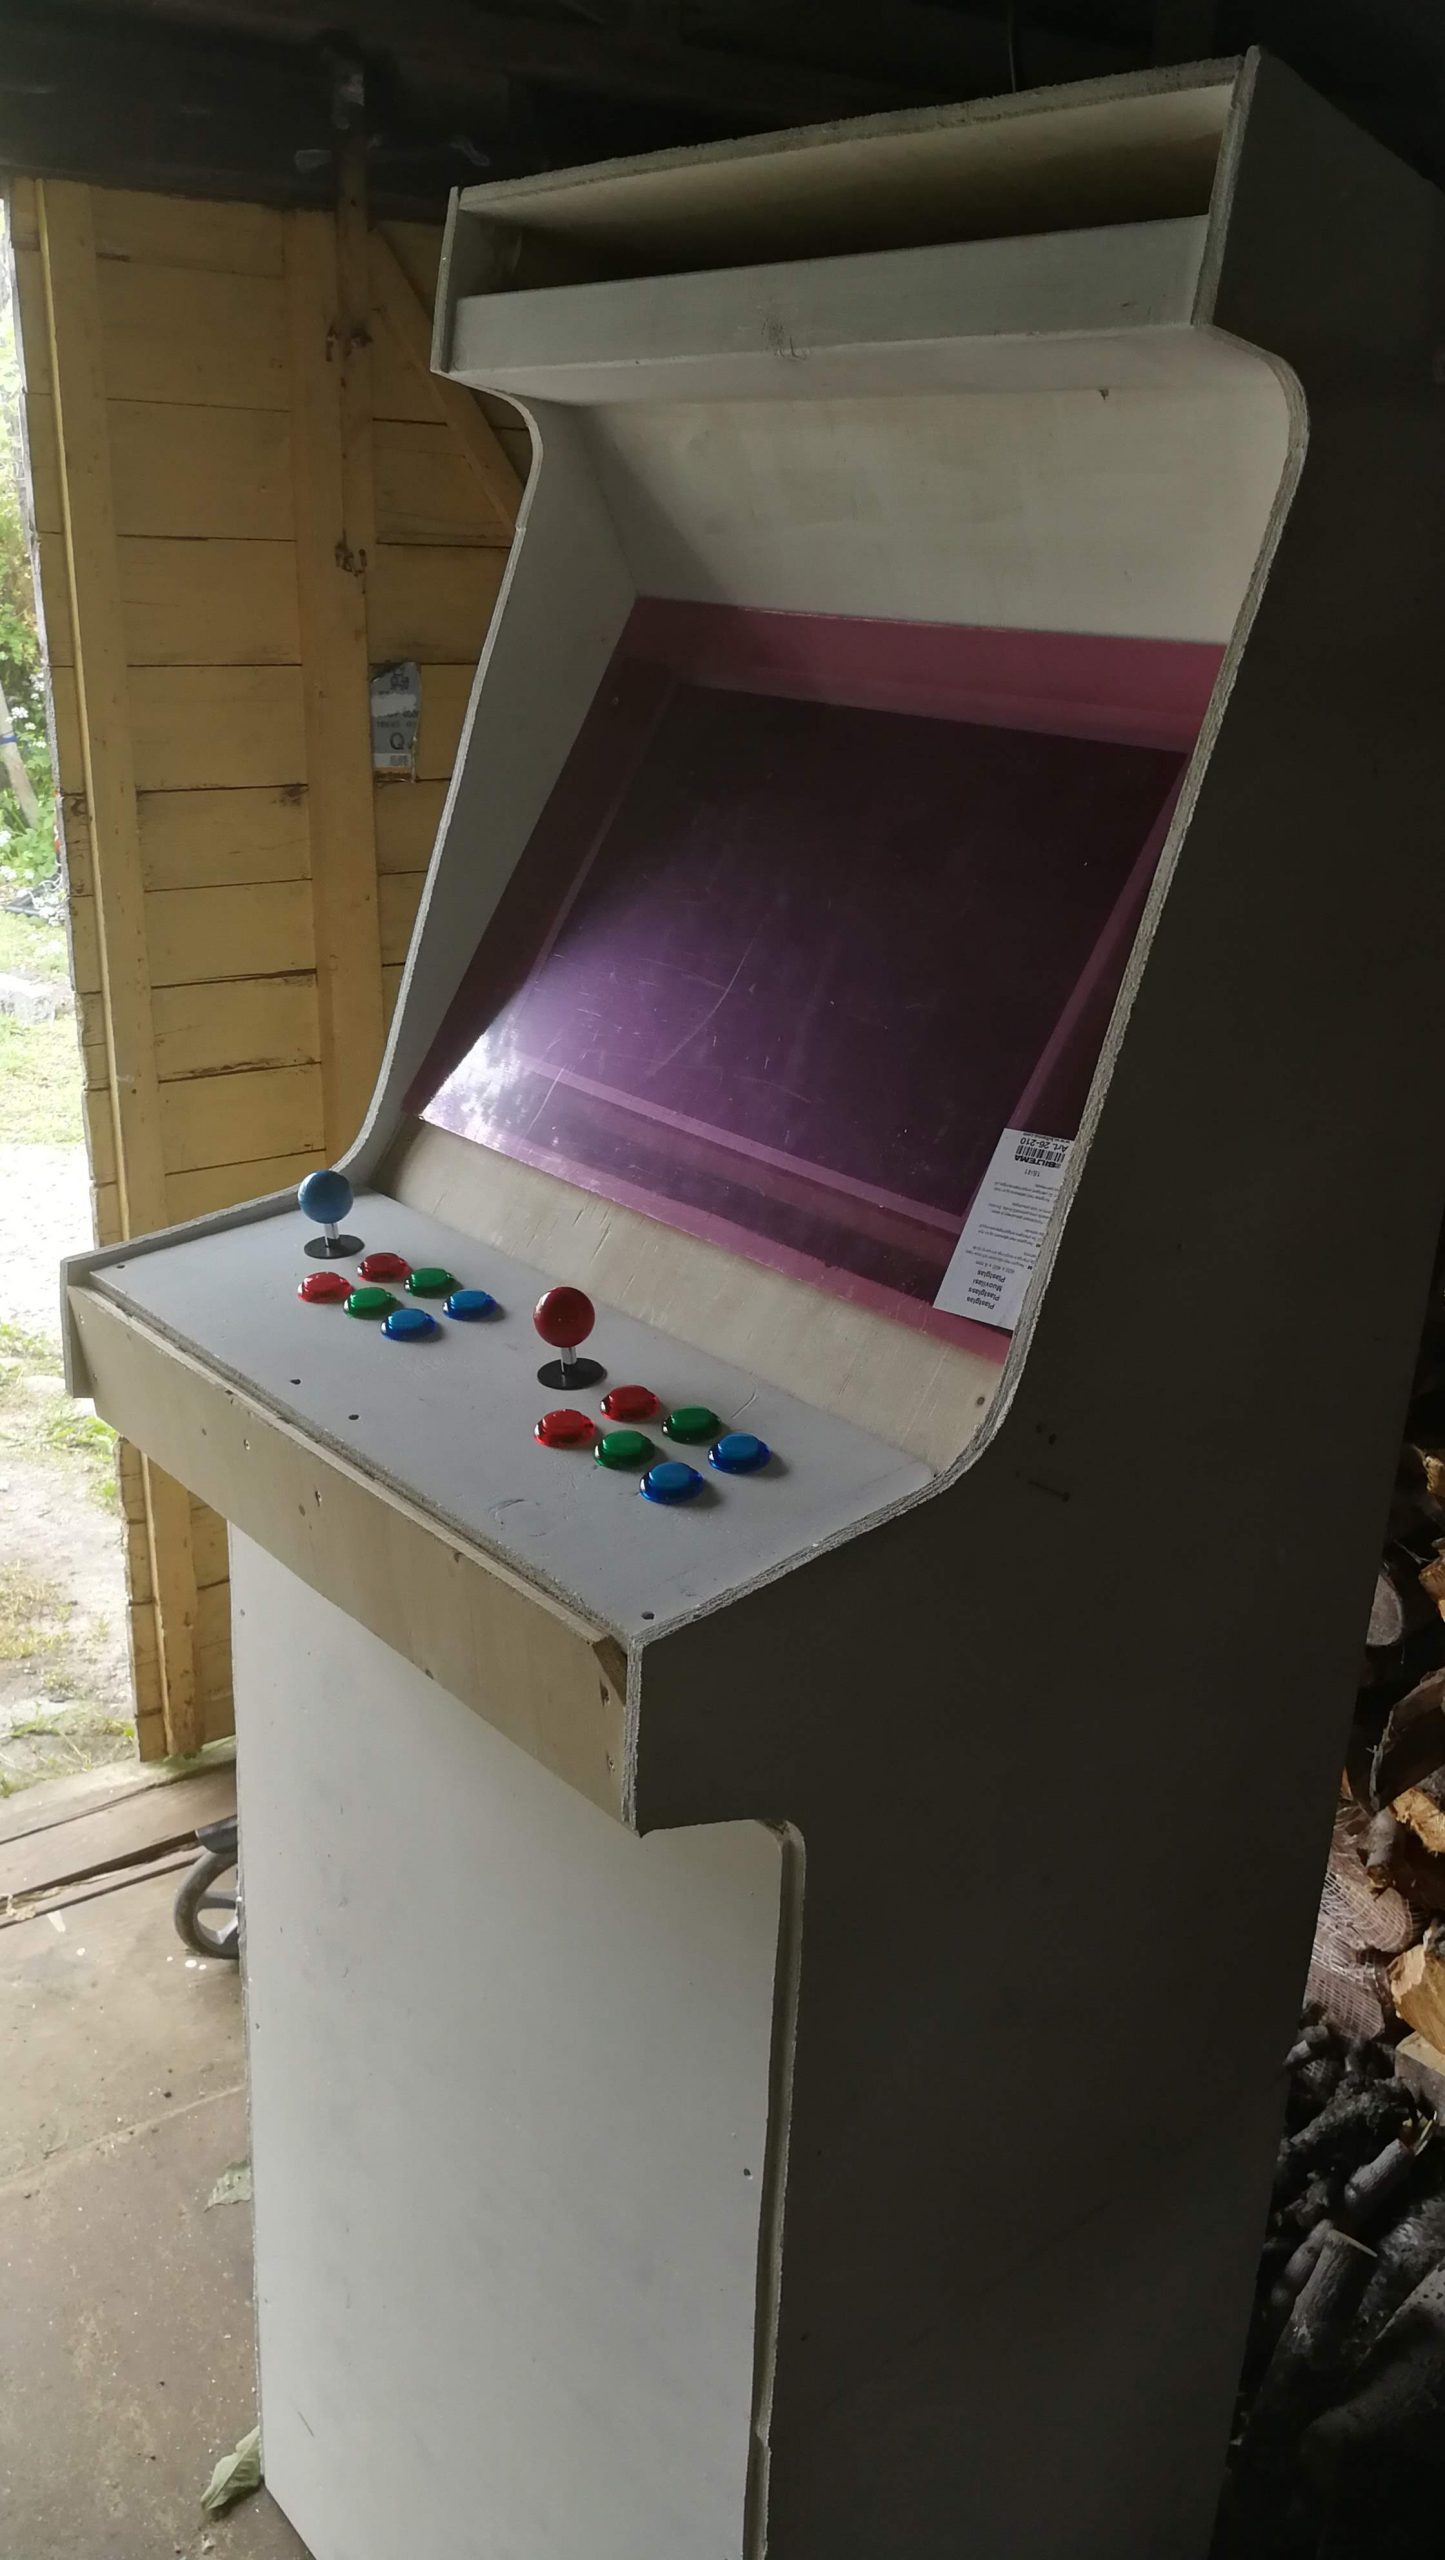
The then white-painted cabinet started to look good and were ready to be beta-tested by two of my four children:


The arcade machine works fine now, but I still have some remaining details before it looks pretty like in those pictures online:
- Paint the cabinet in a darker color
- Make holes for the speakers
- Fasten everything inside (eg. wires, minicomputer, speakers) better
- Install LED strip and plexiglass at the top front
- Make all corners smooth
- Install extra buttons in front panel for each player
- Design foil on sides and front to make it look cool
So much fun 🙂 Here are some more pictures and details of you feel like doing the same:

Please ask me for more details on twitter if you plan to make one too 🙂